

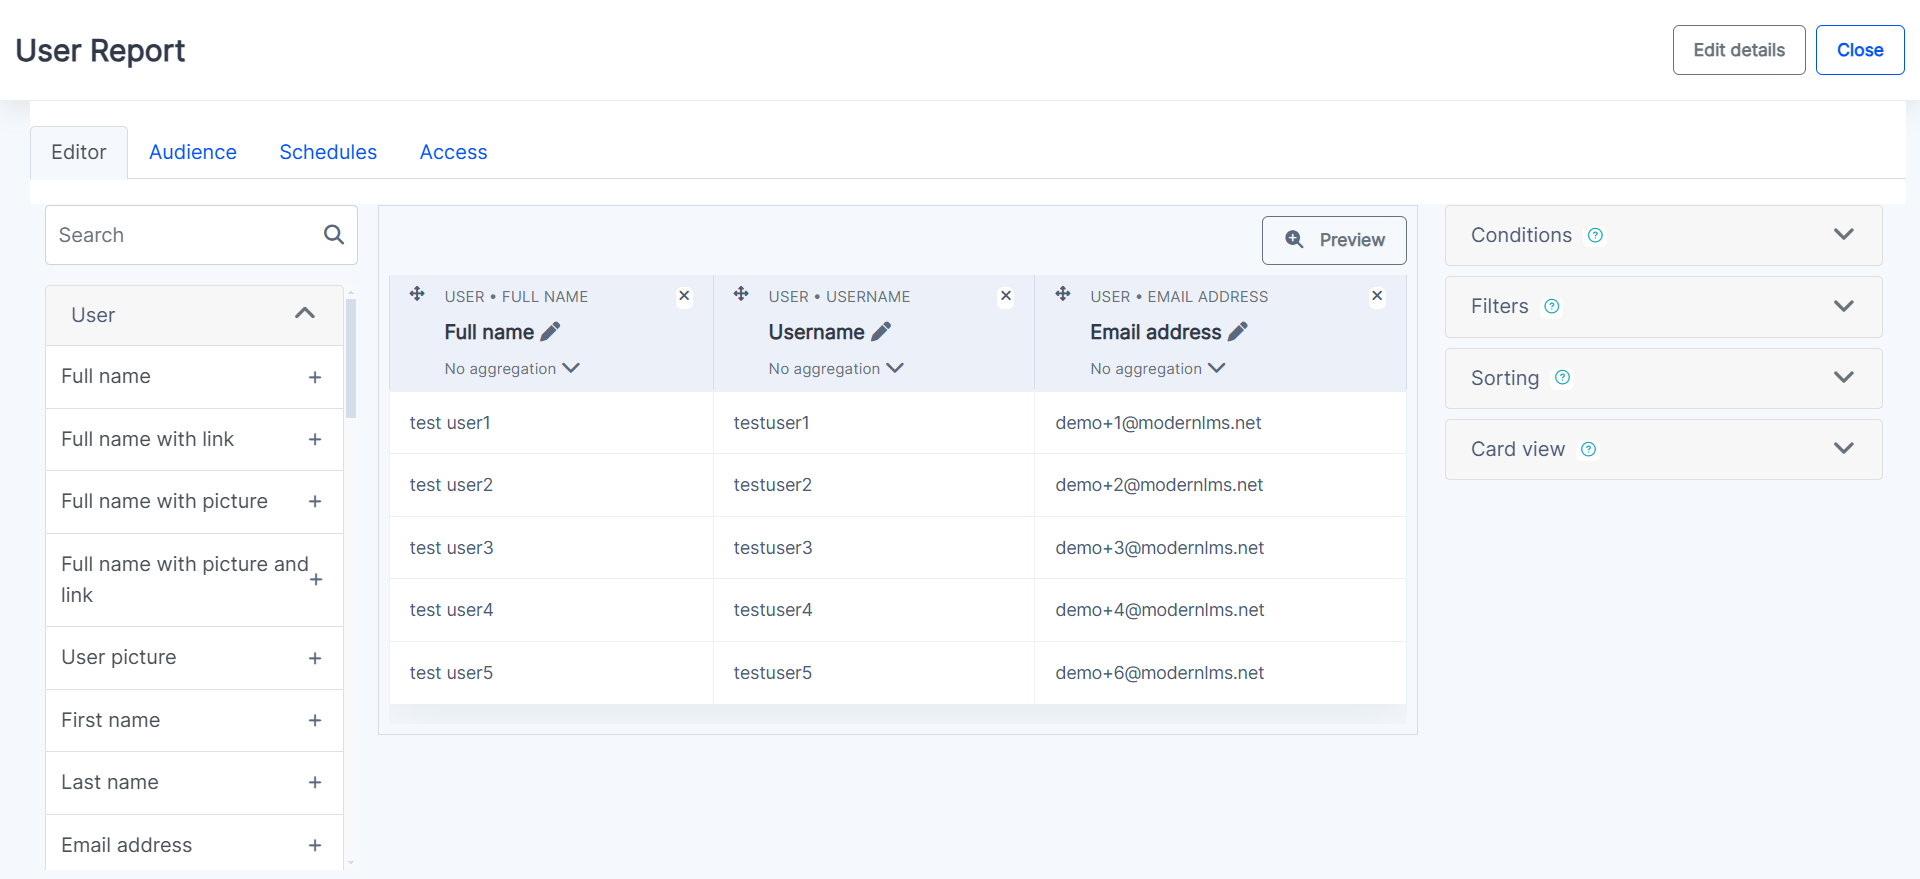
You will be brought to this page, where various details of the Custom Report can be viewed and customized, including data fields, filters, conditions, sorting options, and access permissions.
Popular

To generate a custom report in the LMS, log in and click on the Admin / Site Administration button at the top of the navigation menu.
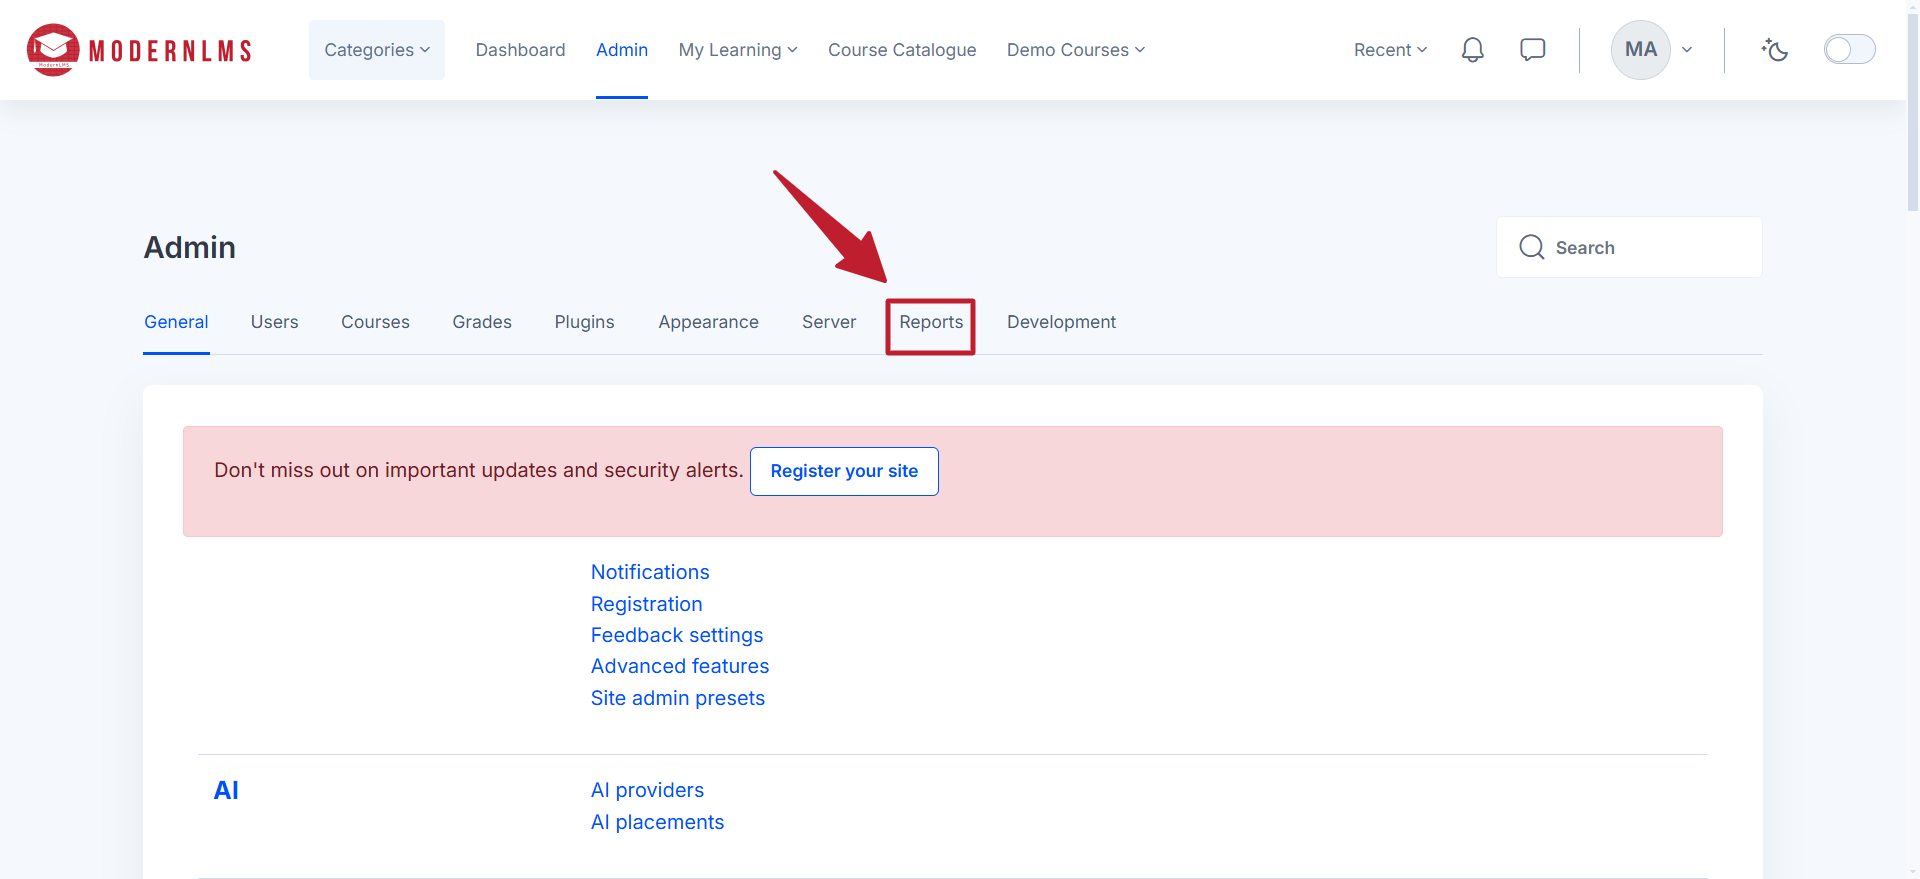
Navigate to the Reports tab.
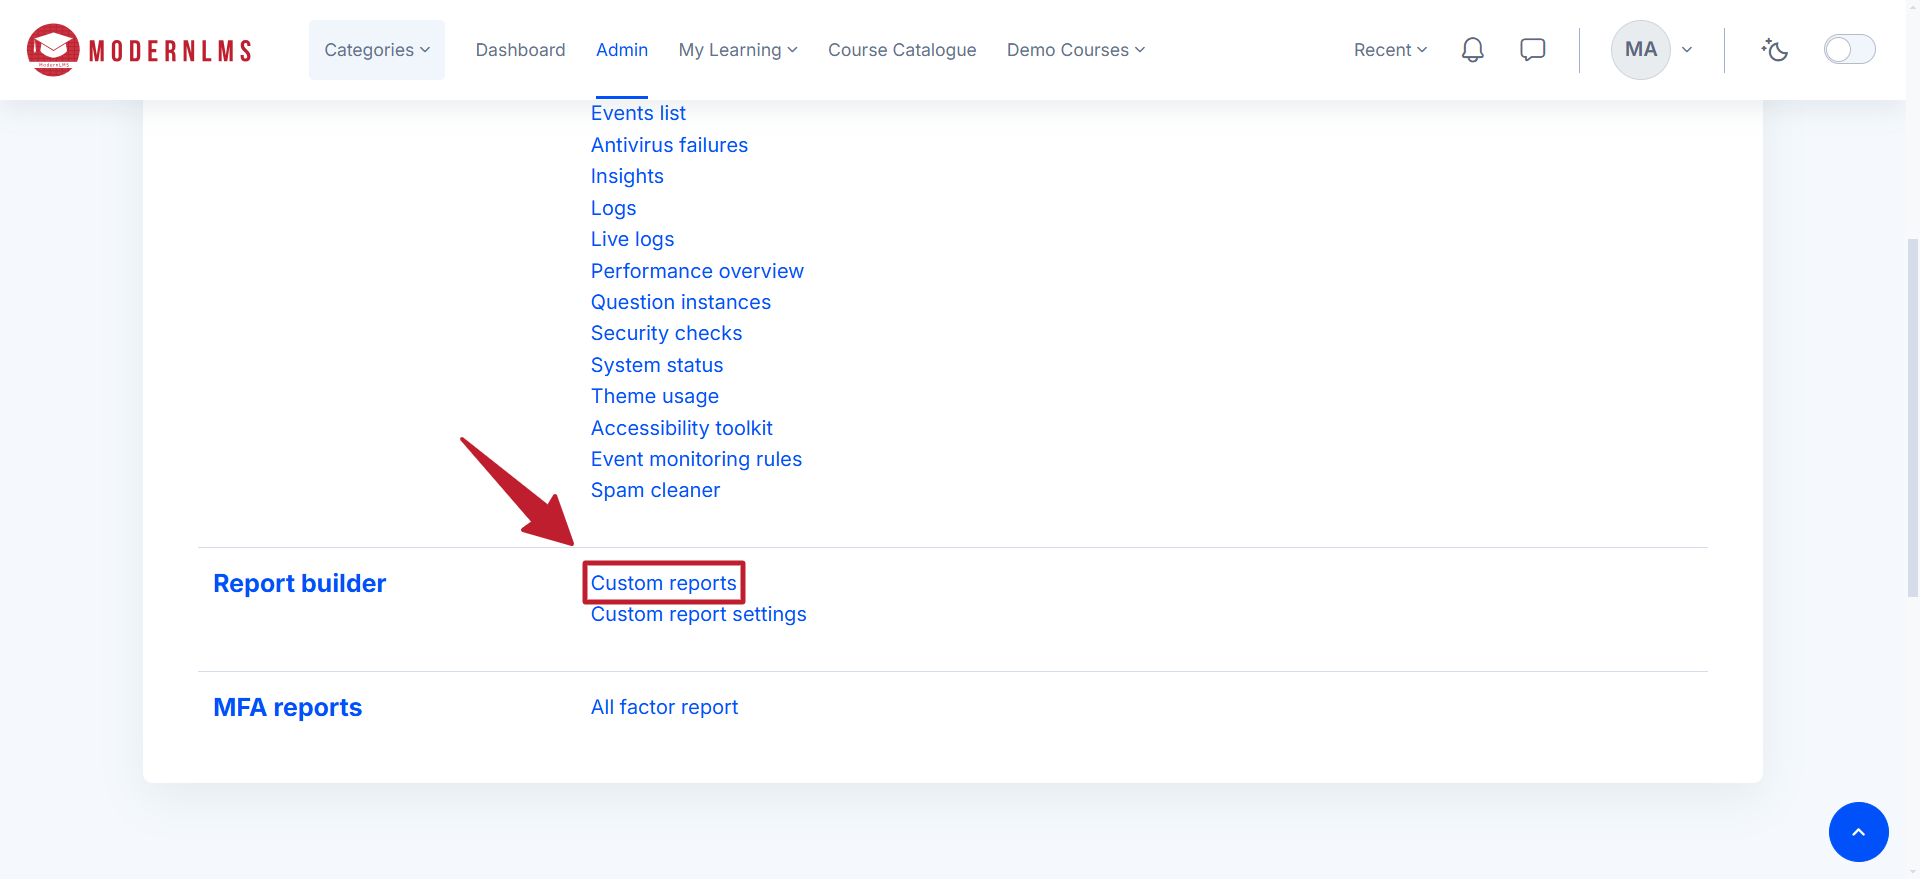
Scroll down and then select Custom reports.
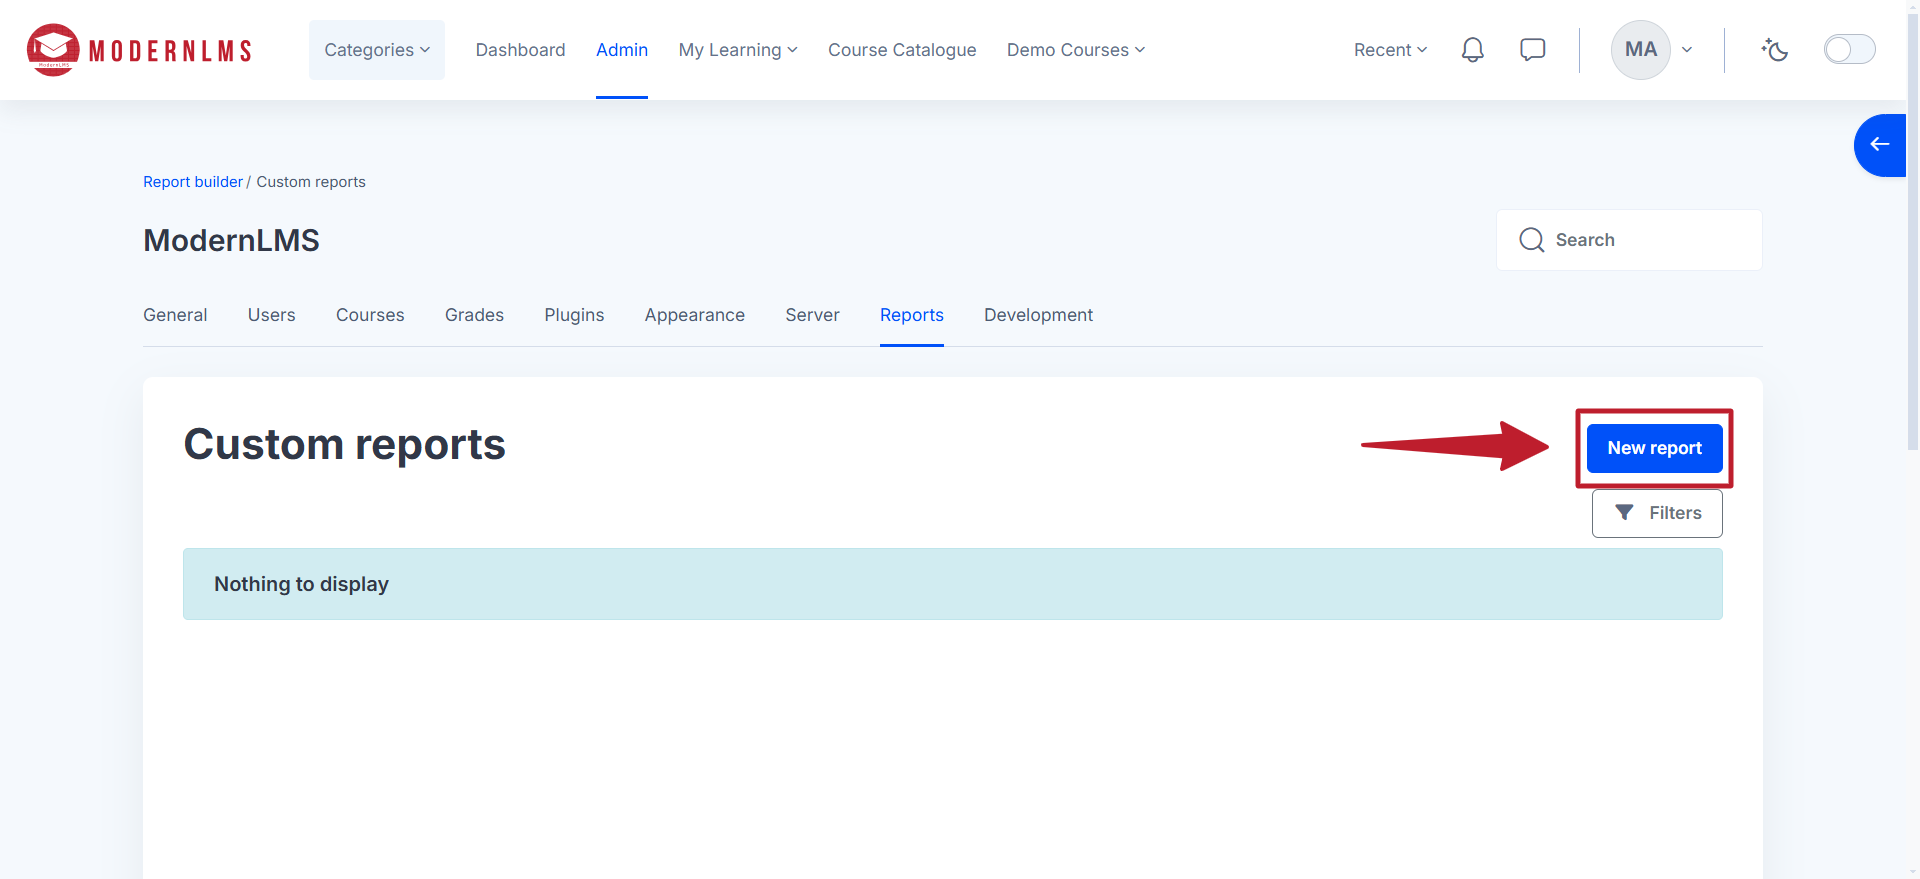
Click on New report to add a custom report.
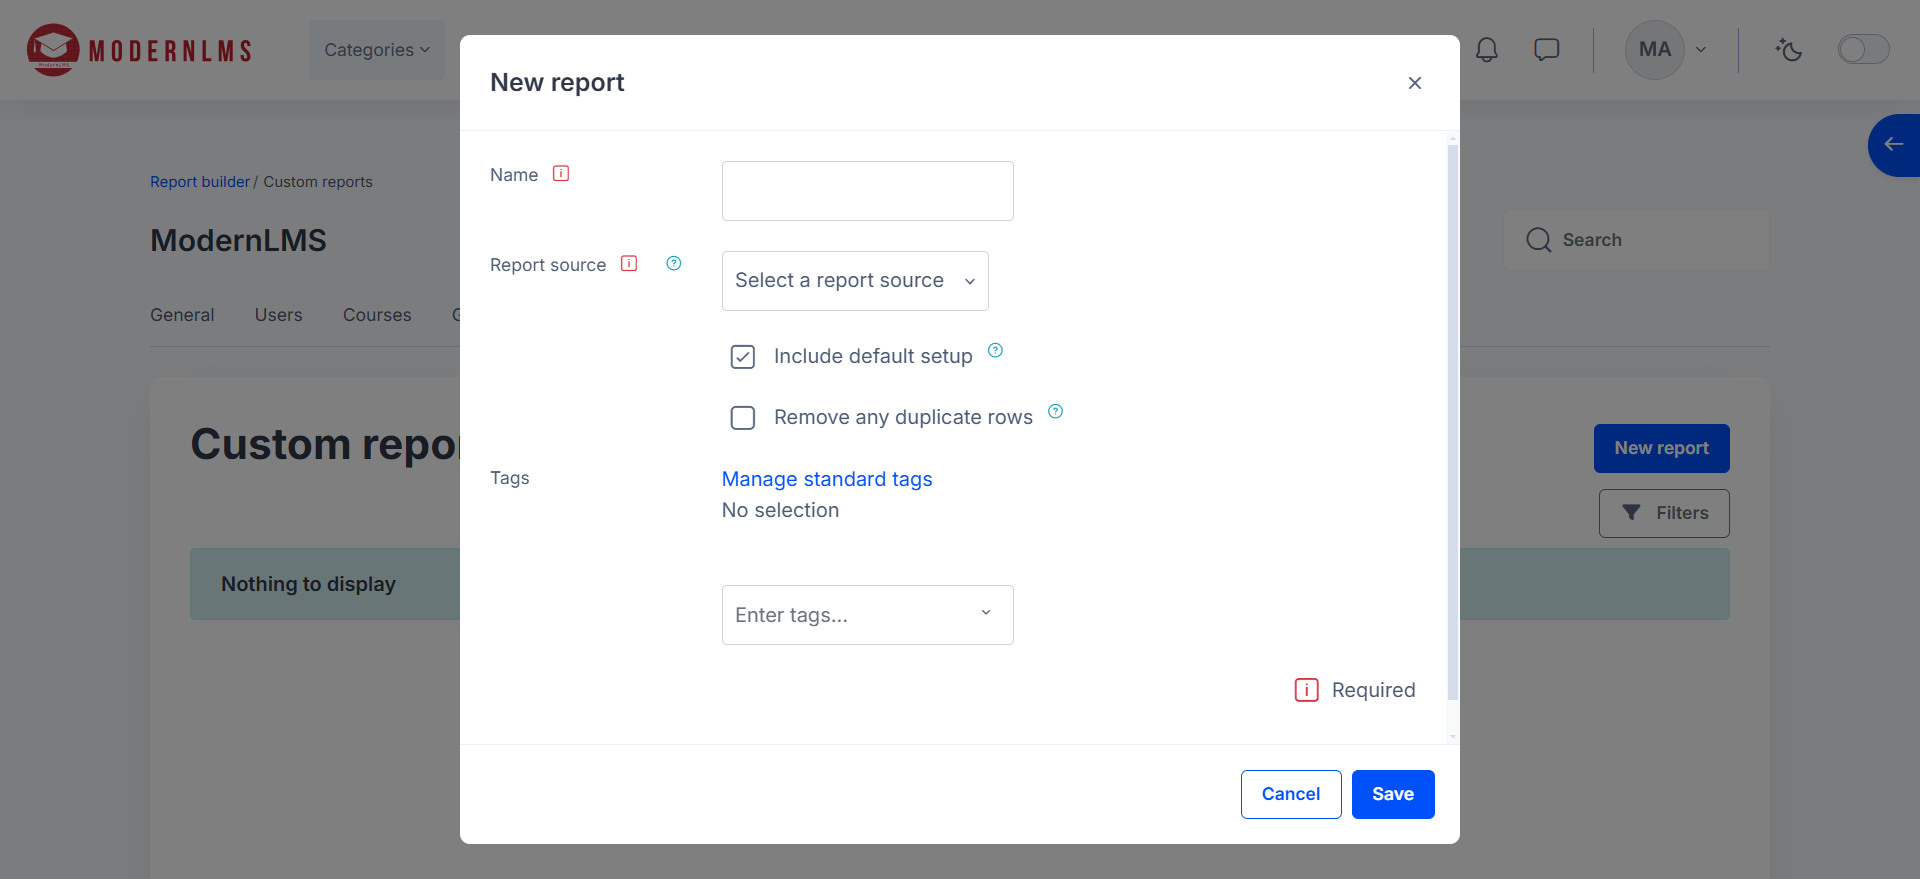
Enter the details for the new report. Report source defines where the data comes from, such as user information, course participation, or courses themselves.
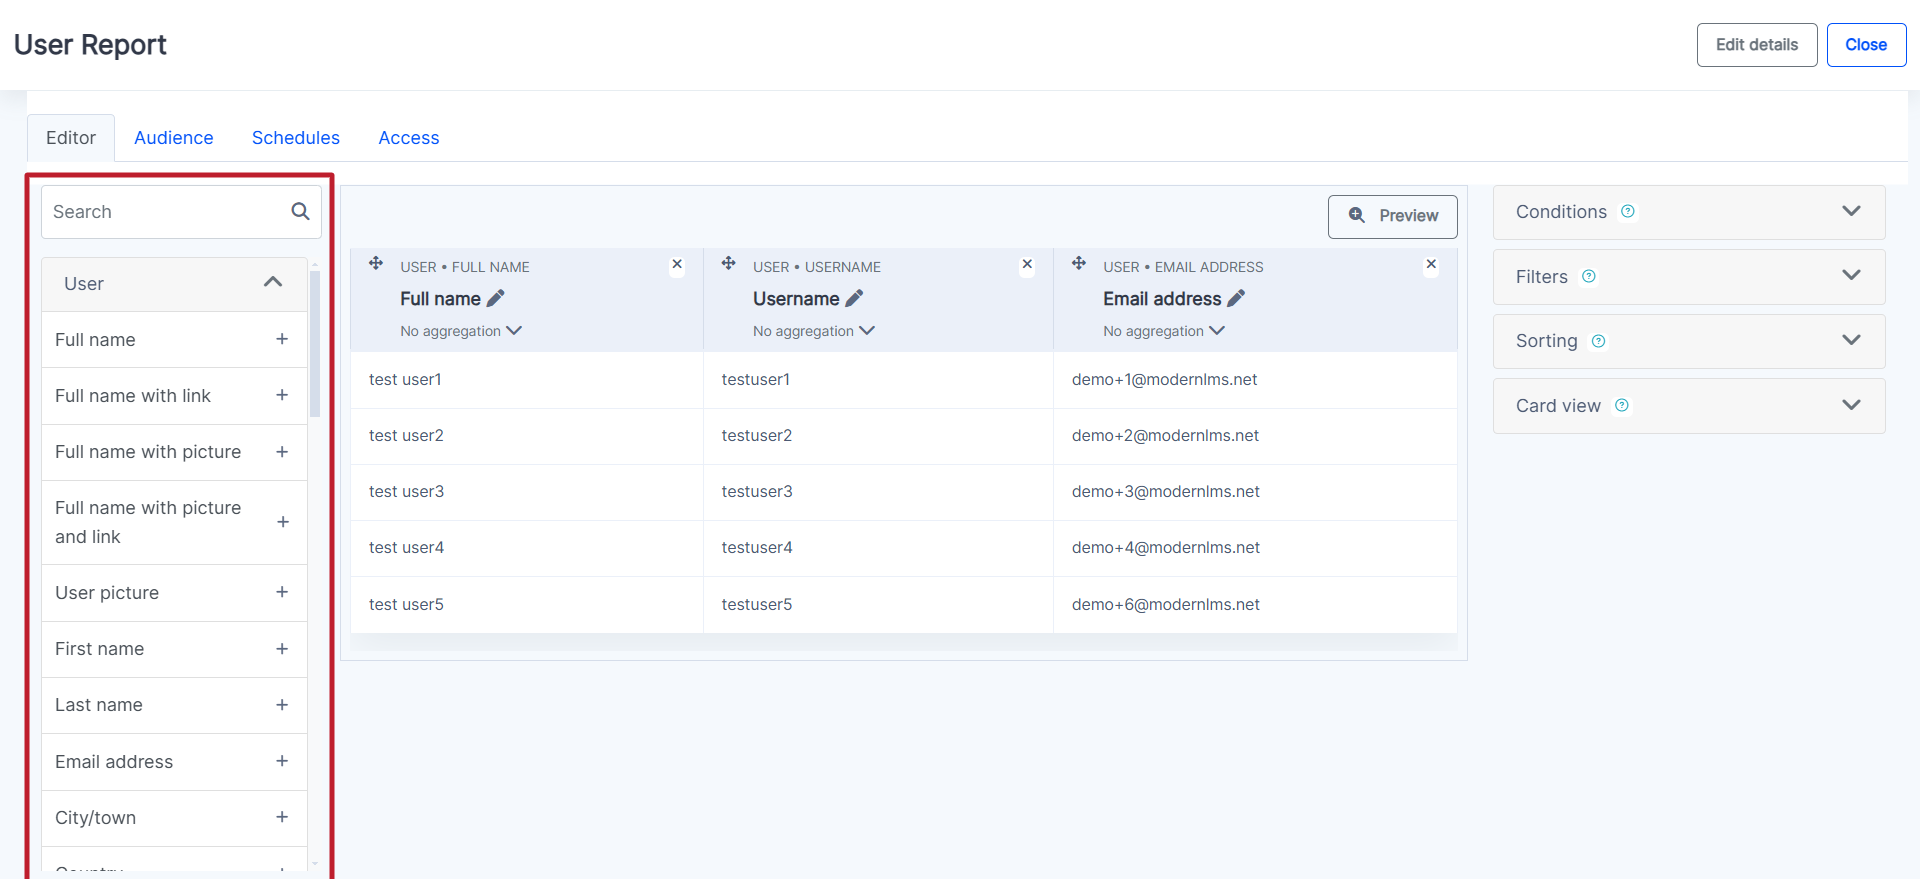
This is the Field Selector Panel, where users can search for and add specific data fields to customize their report.
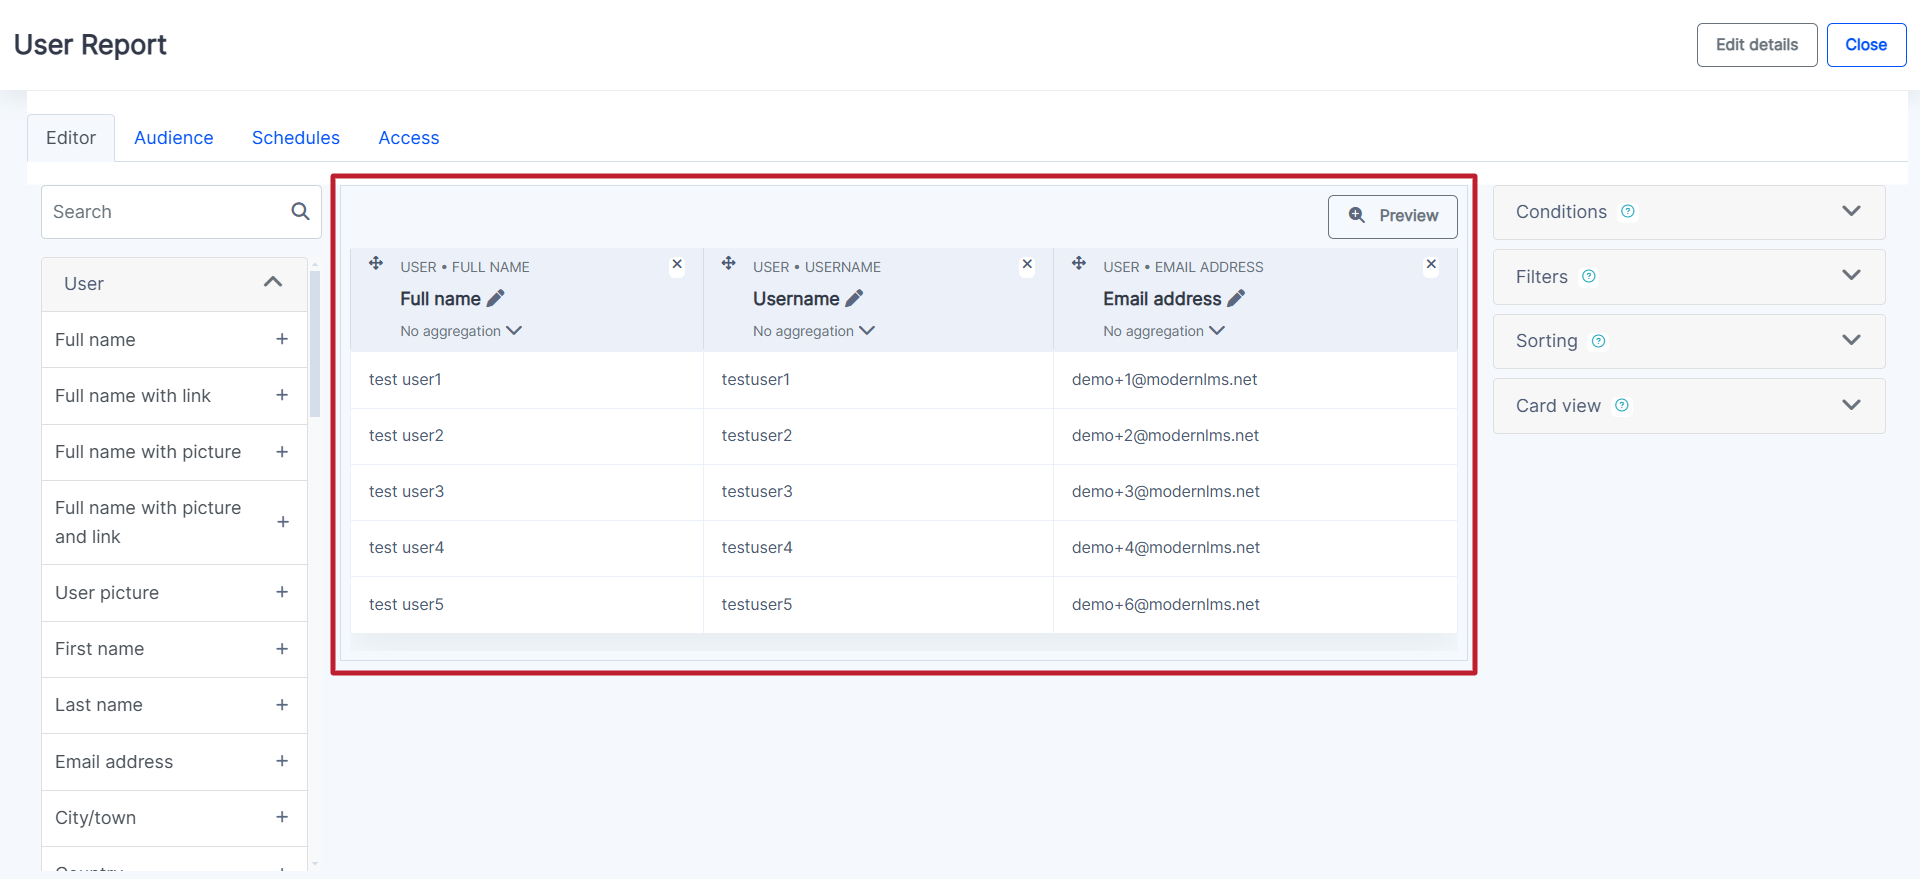
This is the Report Data Table, where selected fields are displayed in a structured format. It shows user data based on the chosen columns, allowing for easy review and analysis of the generated report.
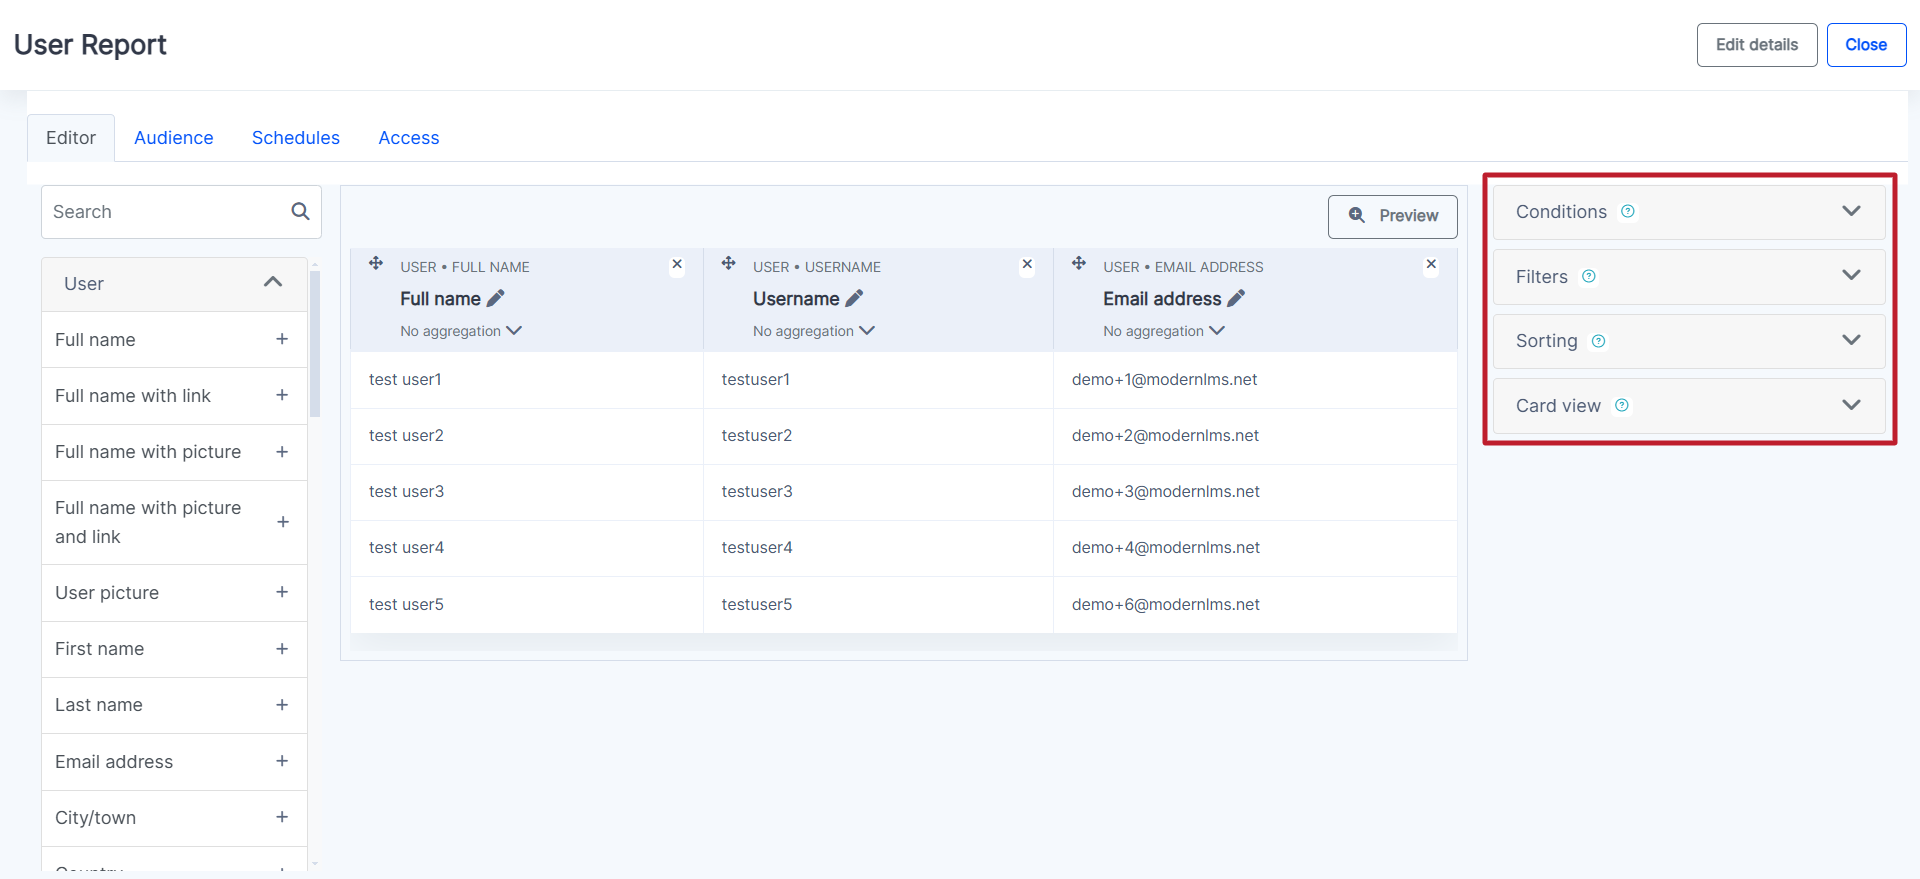
This is the Report Settings Panel, where users can refine the report using conditions, filters, sorting, and display options. It allows customization to ensure the report presents relevant and well-structured data.
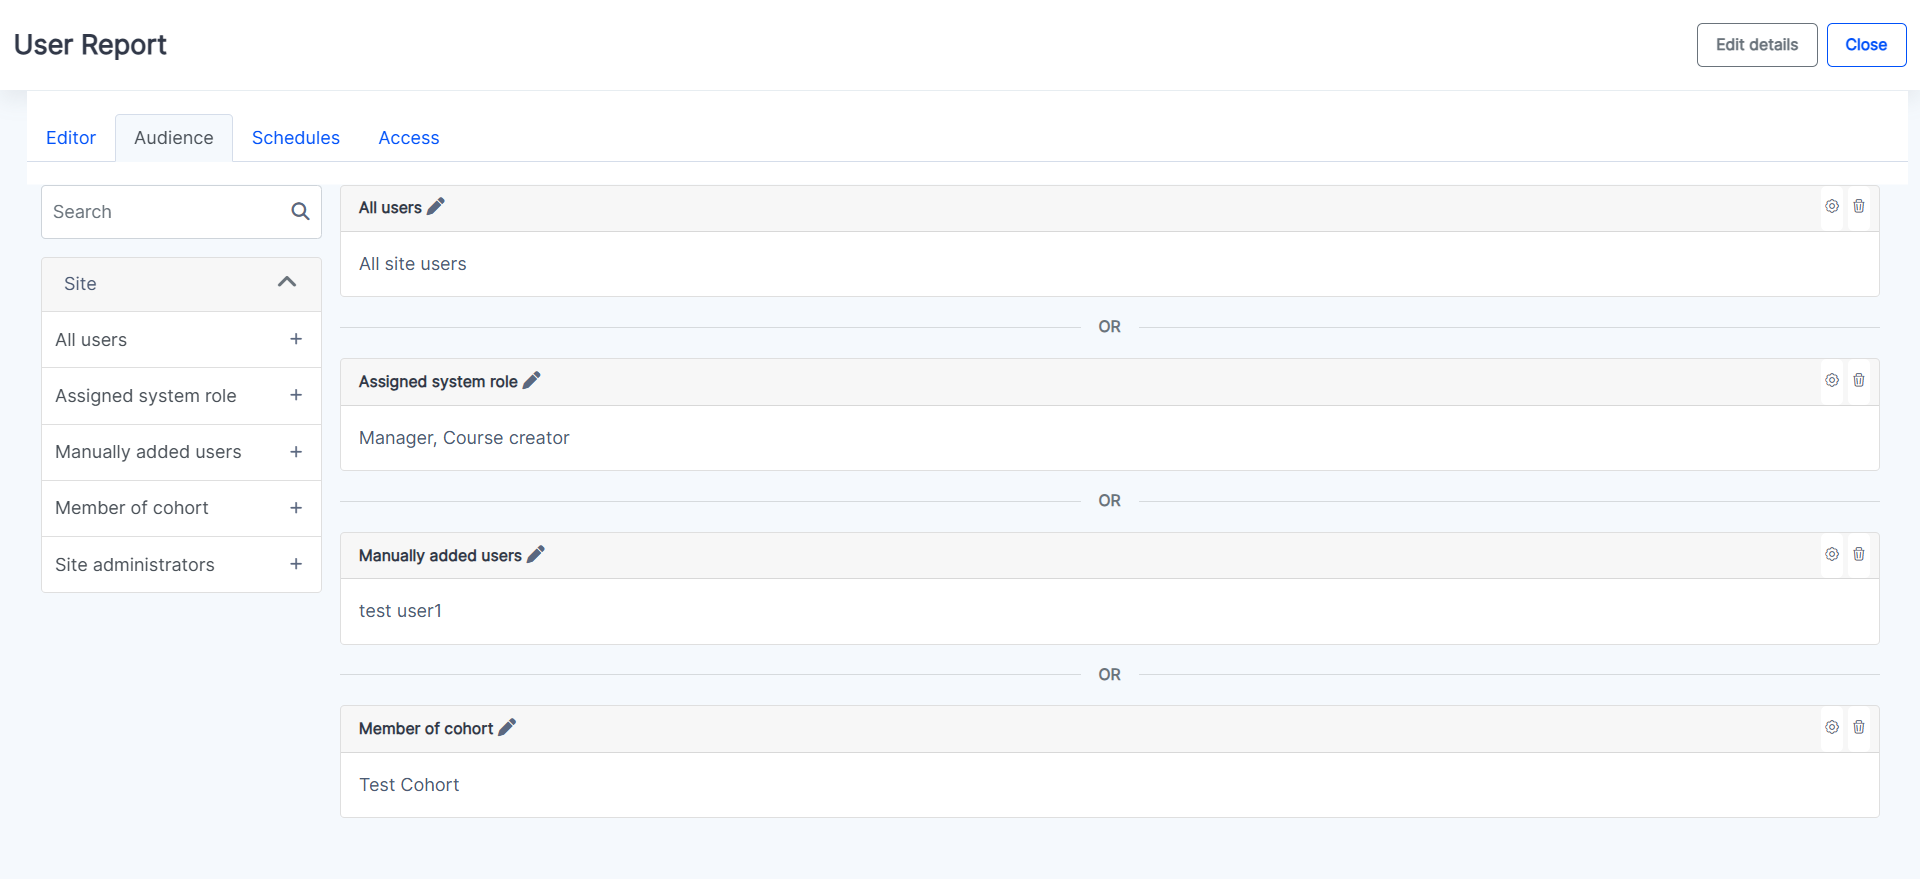
The Audience Tab allows users to define who can access the report. It enables administrators to restrict or grant report visibility based on roles, cohorts, or specific user criteria, ensuring that only relevant users can view the data.
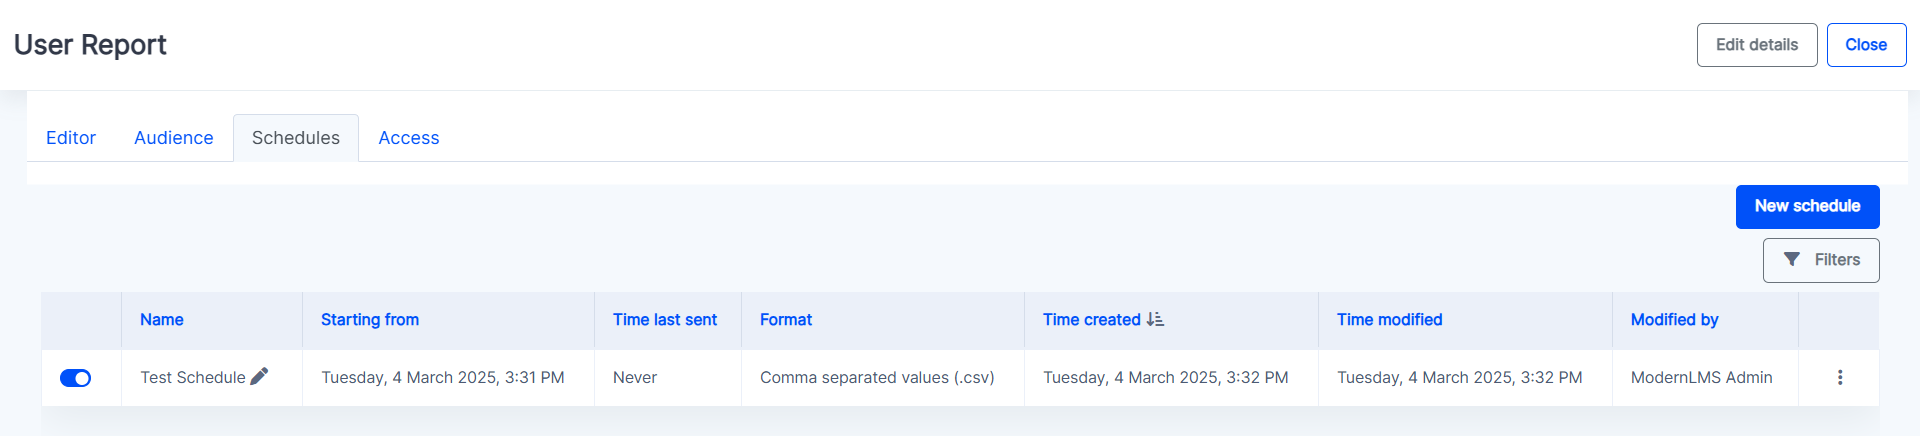
The Schedules Tab allows users to automate report generation and delivery. It enables setting up recurring schedules to send reports via email or other channels at specified intervals, ensuring timely access to updated data without manual intervention.
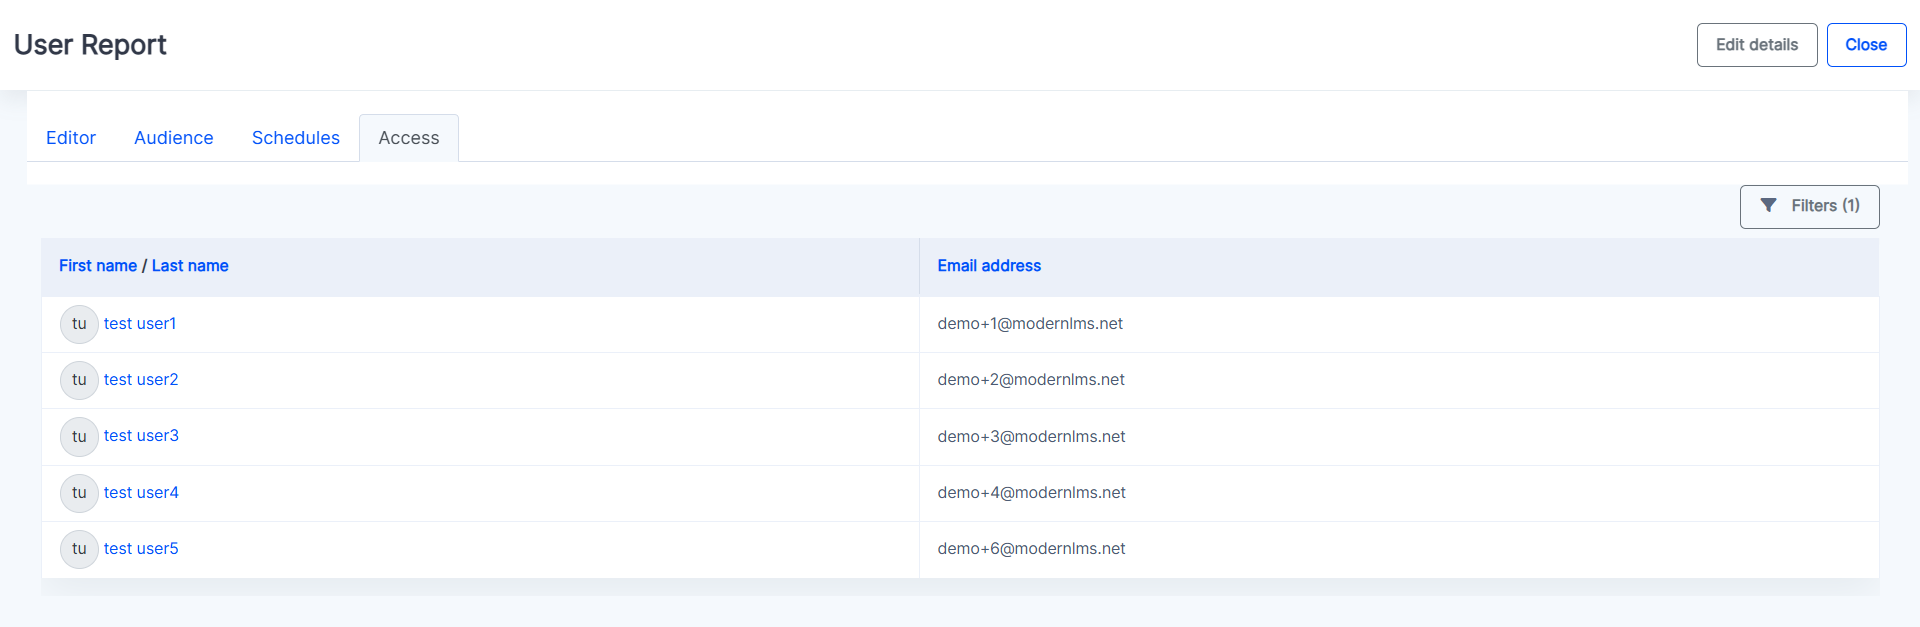
The Access Tab displays a list of users who have access to the report. It provides an overview of assigned permissions, showing who can view or manage the report based on the settings configured in the Audience Tab.
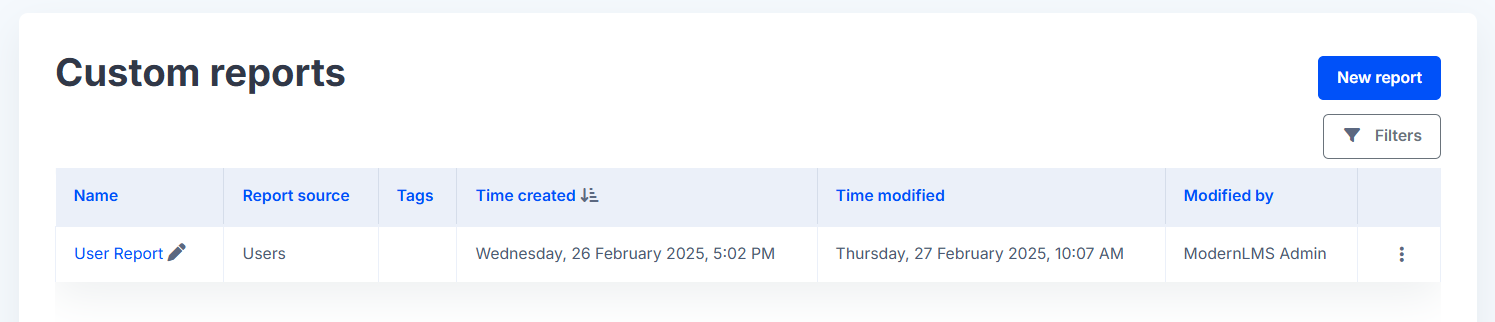
Once the details are all finalized, close the report and you should see it under Custom reports.