

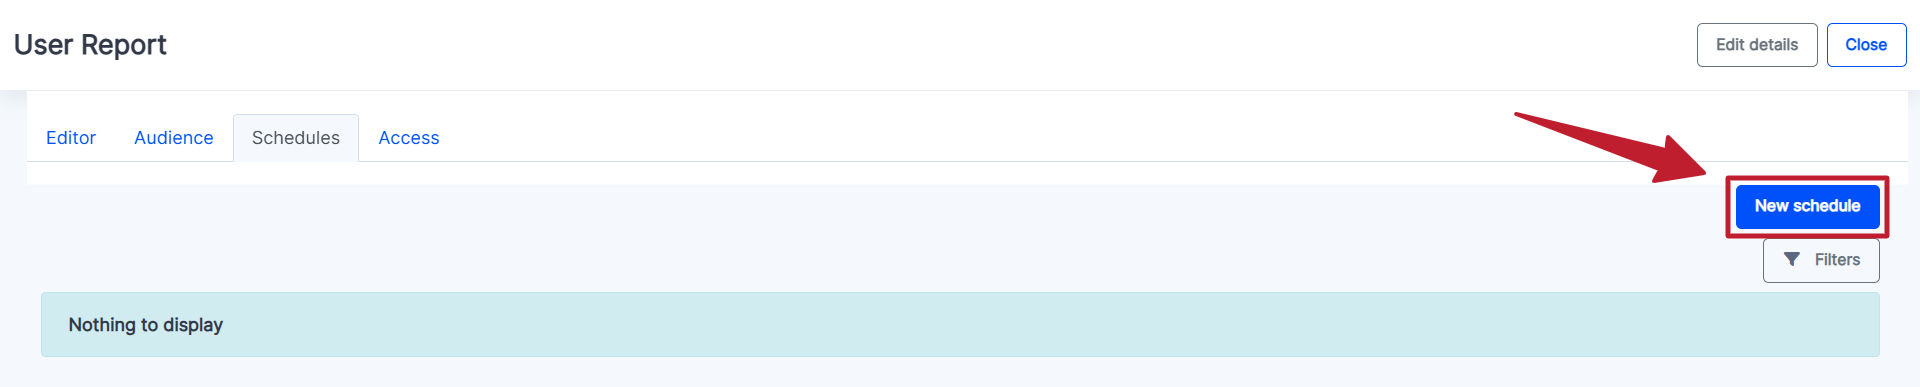
Select New Schedule to create a schedule, where you’ll find multiple tabs with configurable options.
Popular

To schedule automated delivery for a custom report in the LMS, log in and click on the Admin / Site Administration button at the top of the navigation menu.
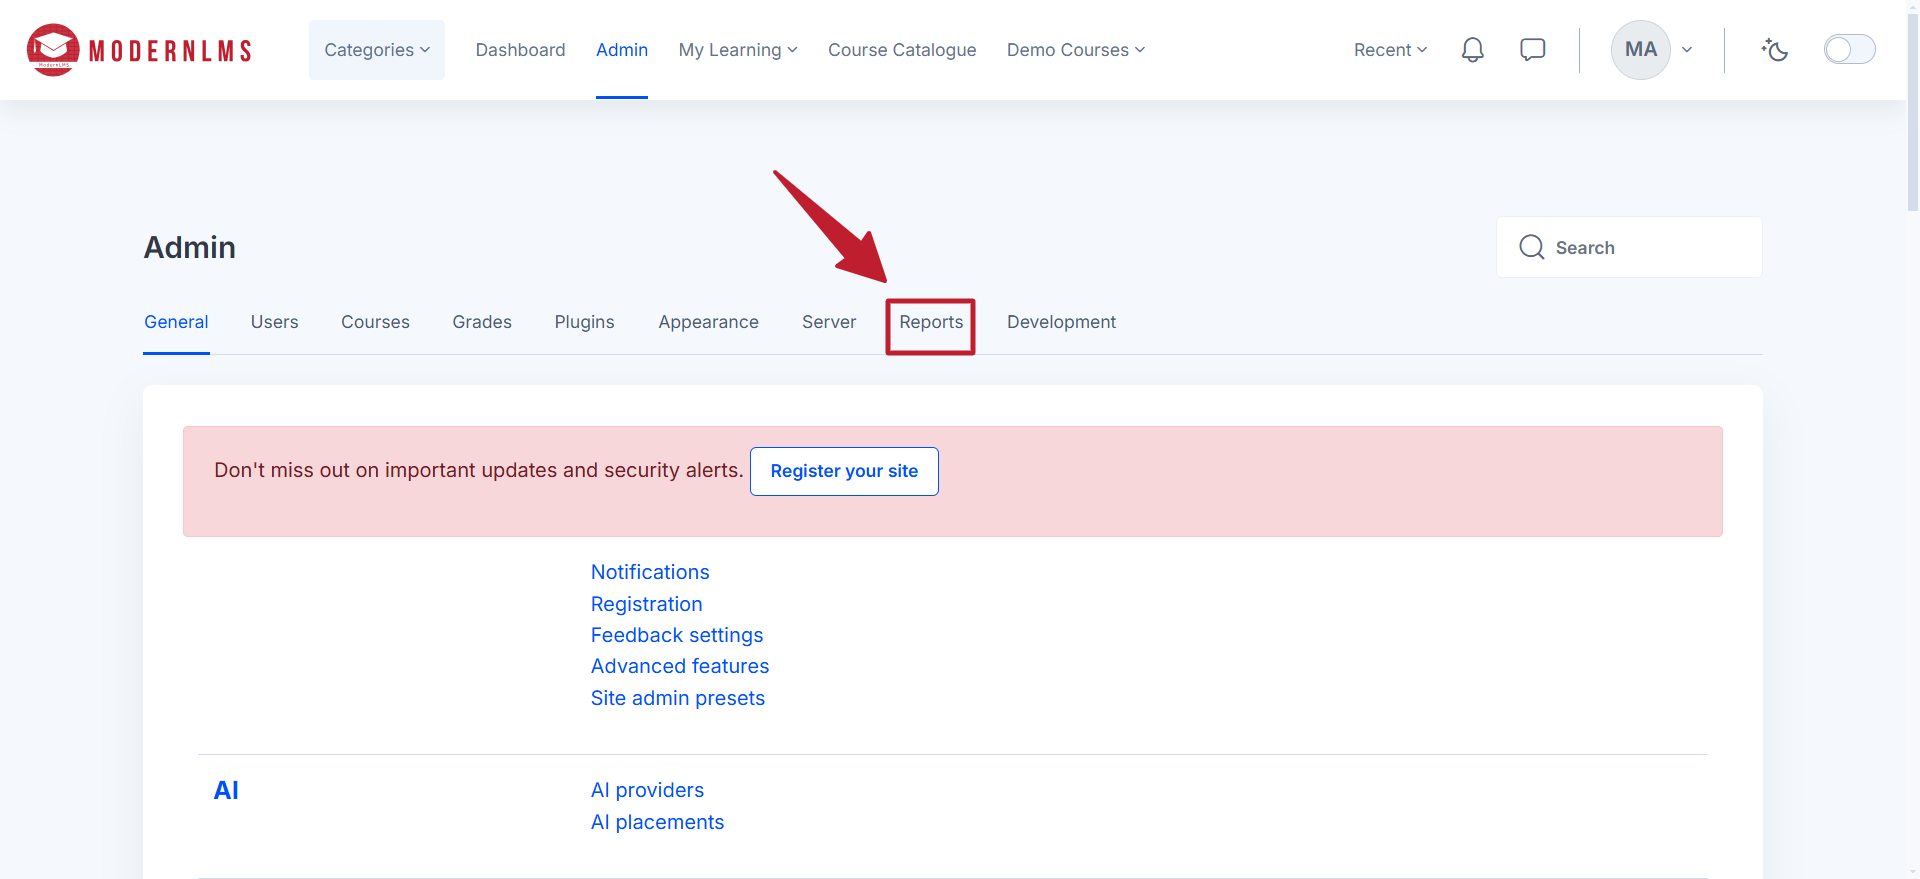
Navigate to the Reports tab.
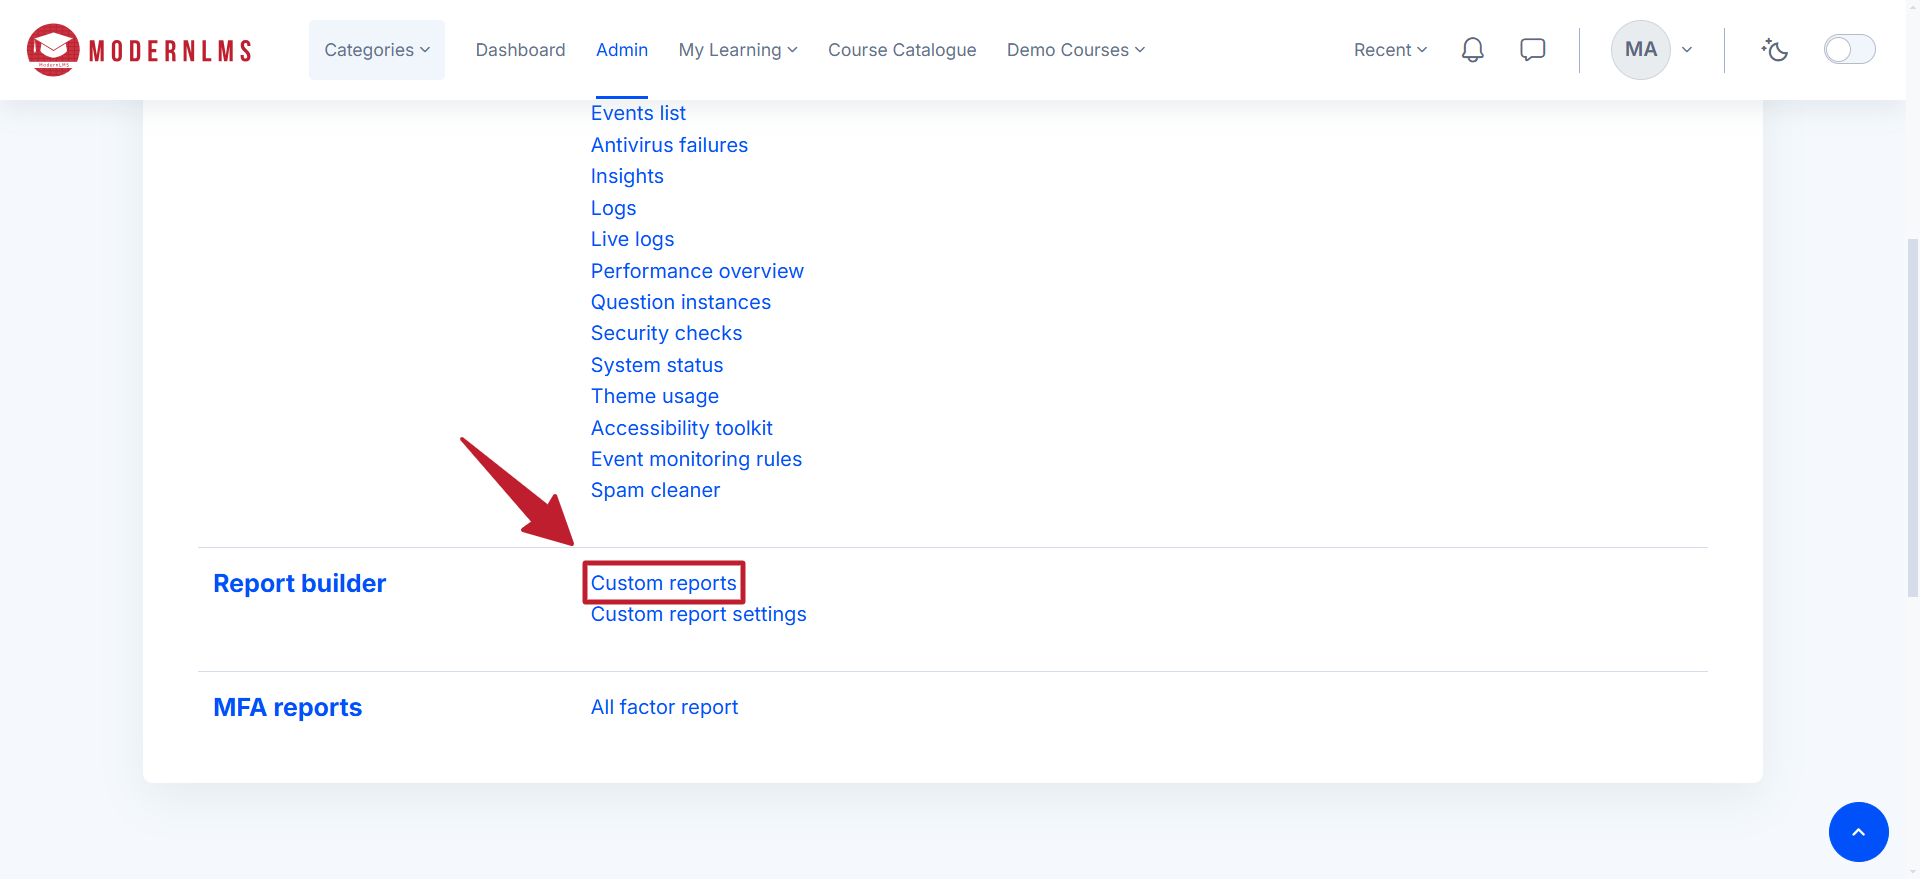
Click on Custom reports.
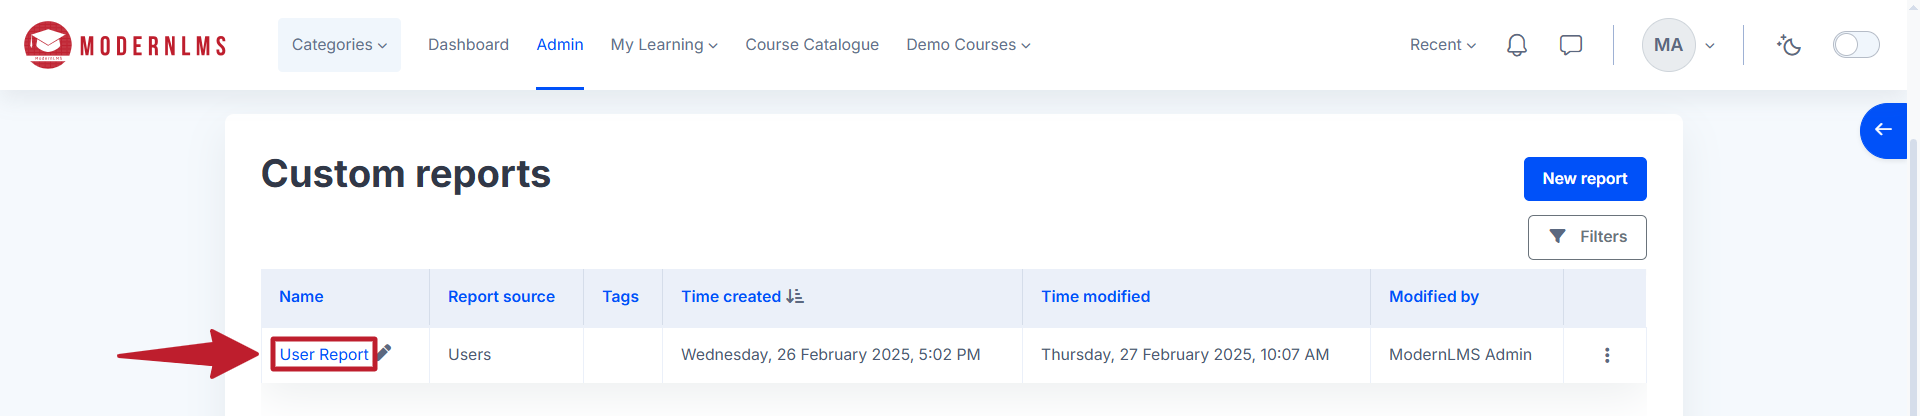
Select the desired report for configuration.
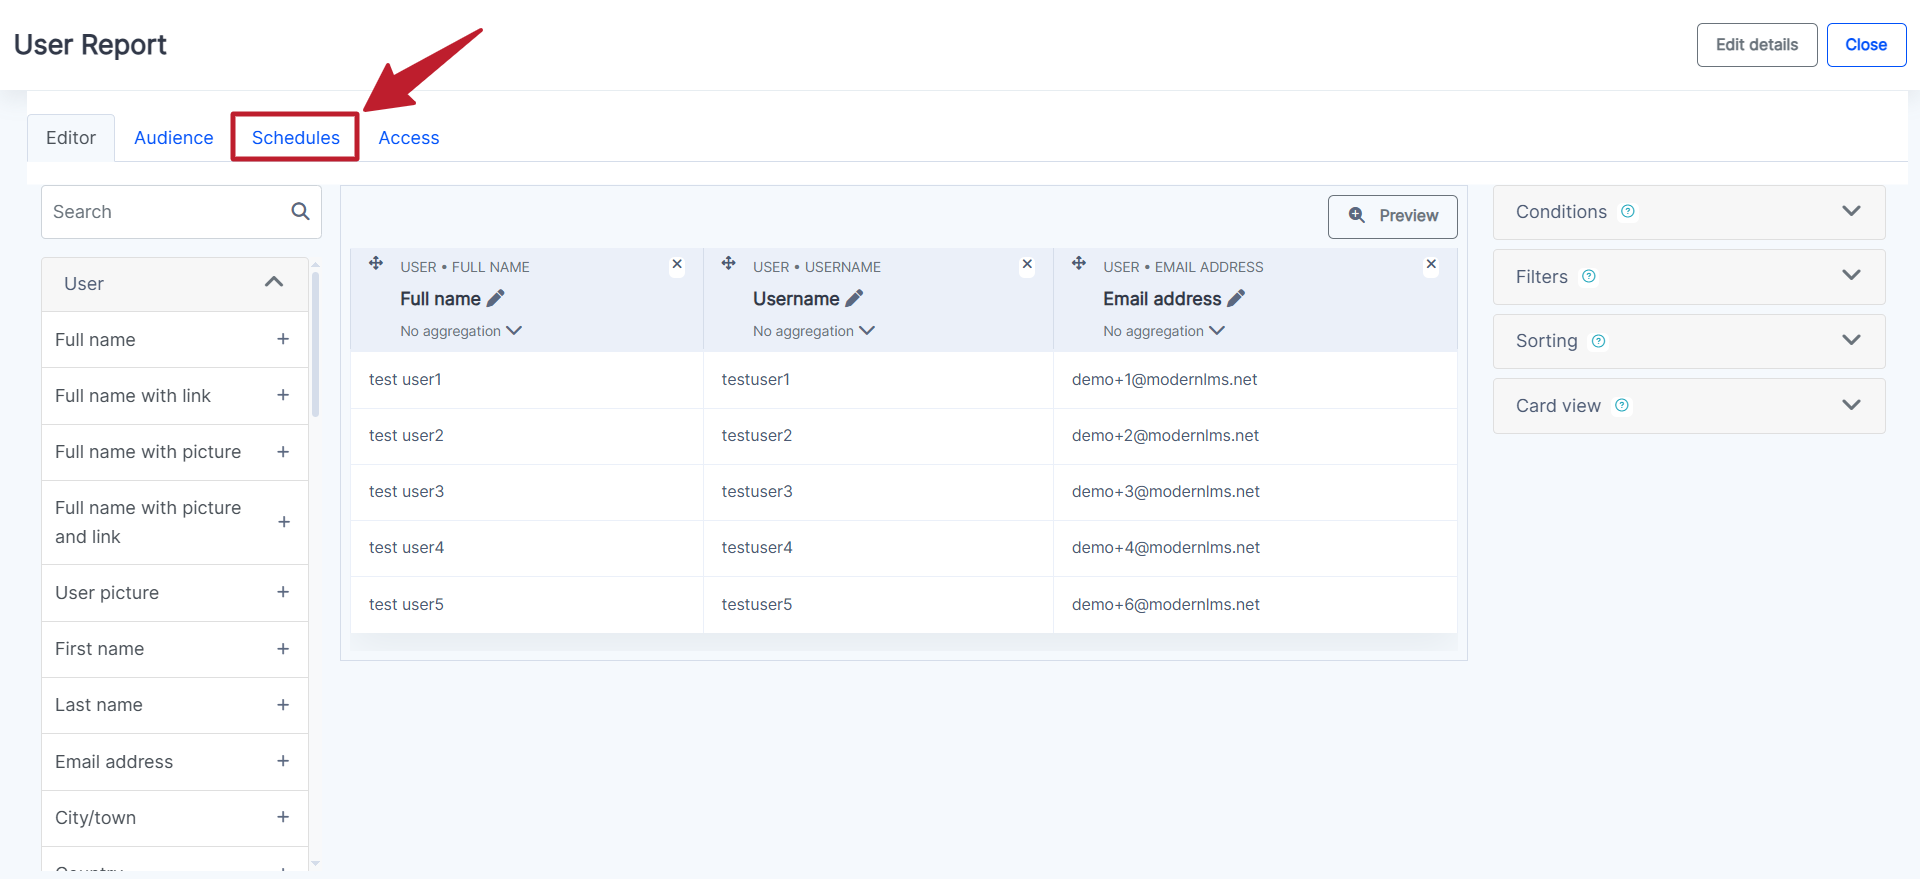
Inside the report, head to the Schedules tab.
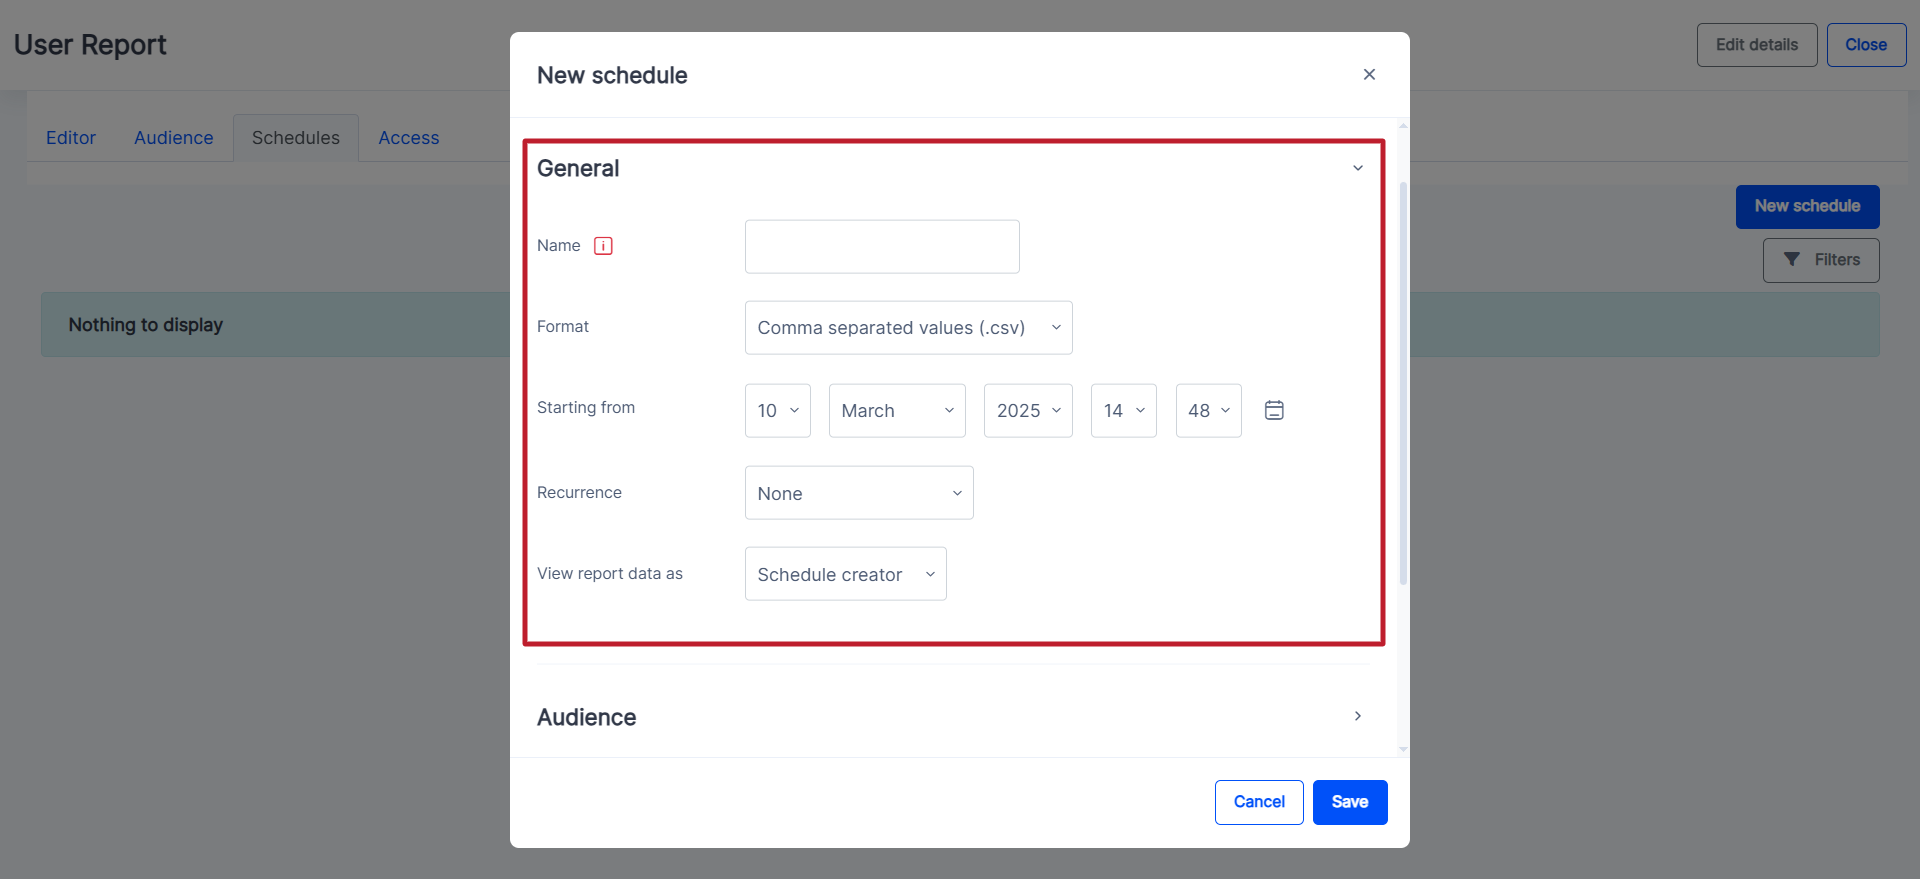
General – Configure basic details such as the schedule name, frequency, and delivery method for the report.
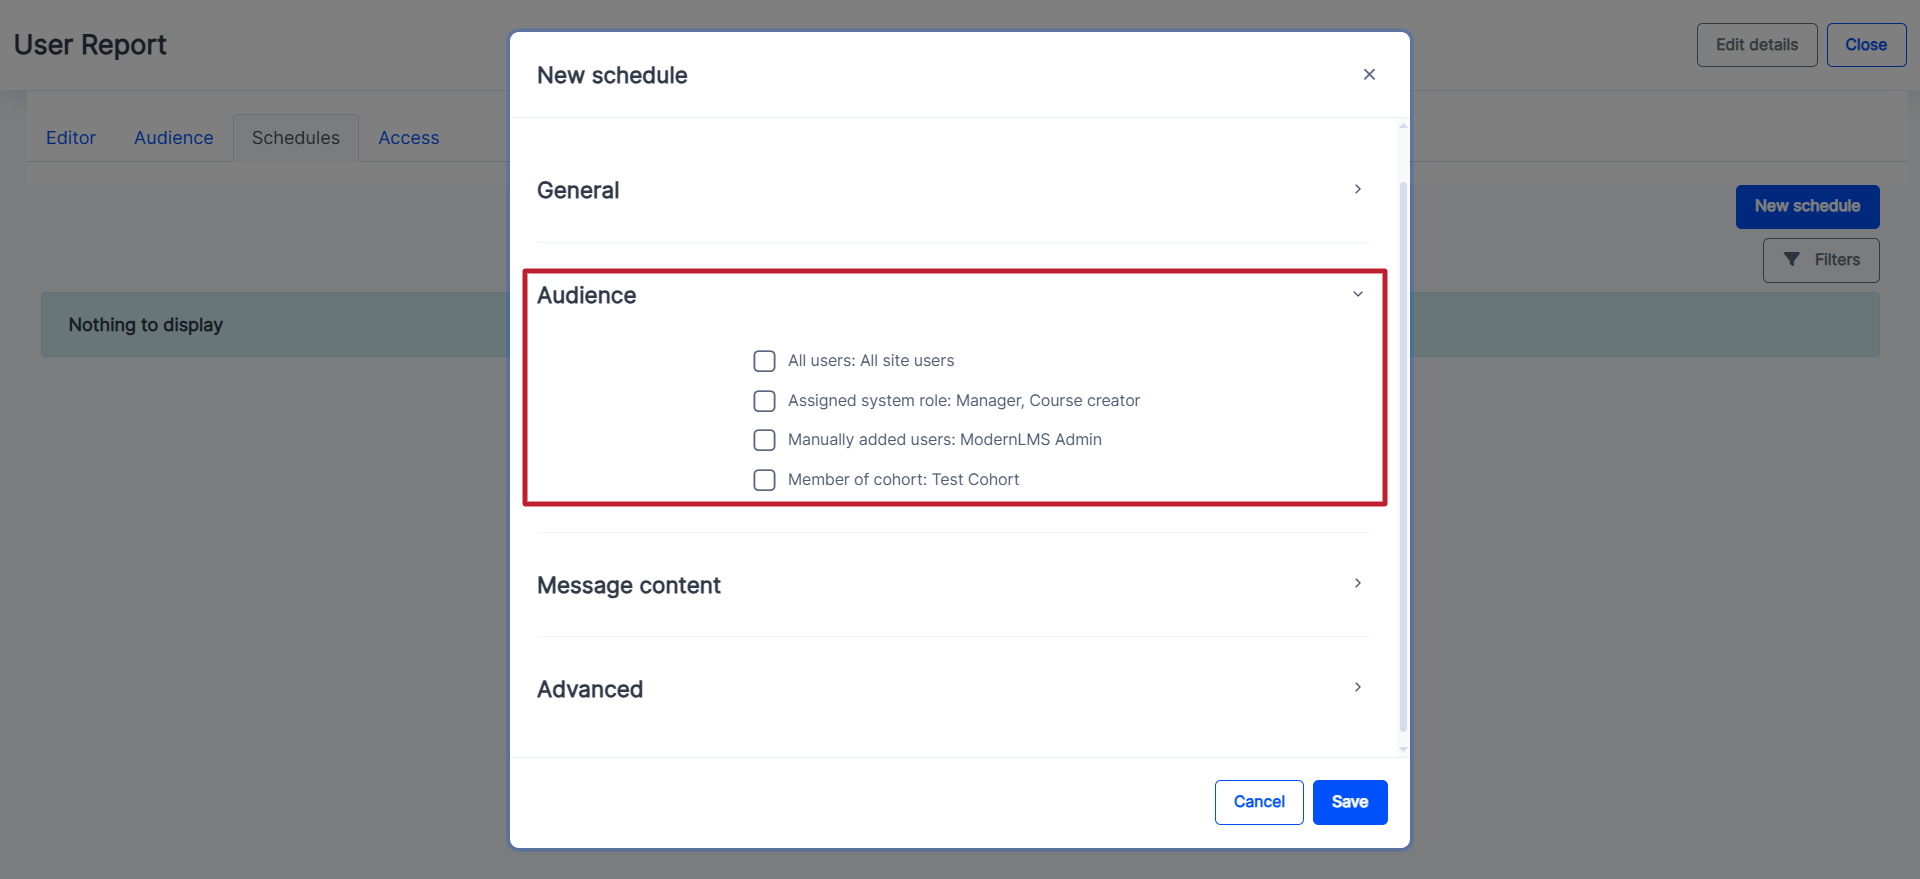
Audience – Define who will receive the scheduled report by selecting specific users, roles, or cohorts.
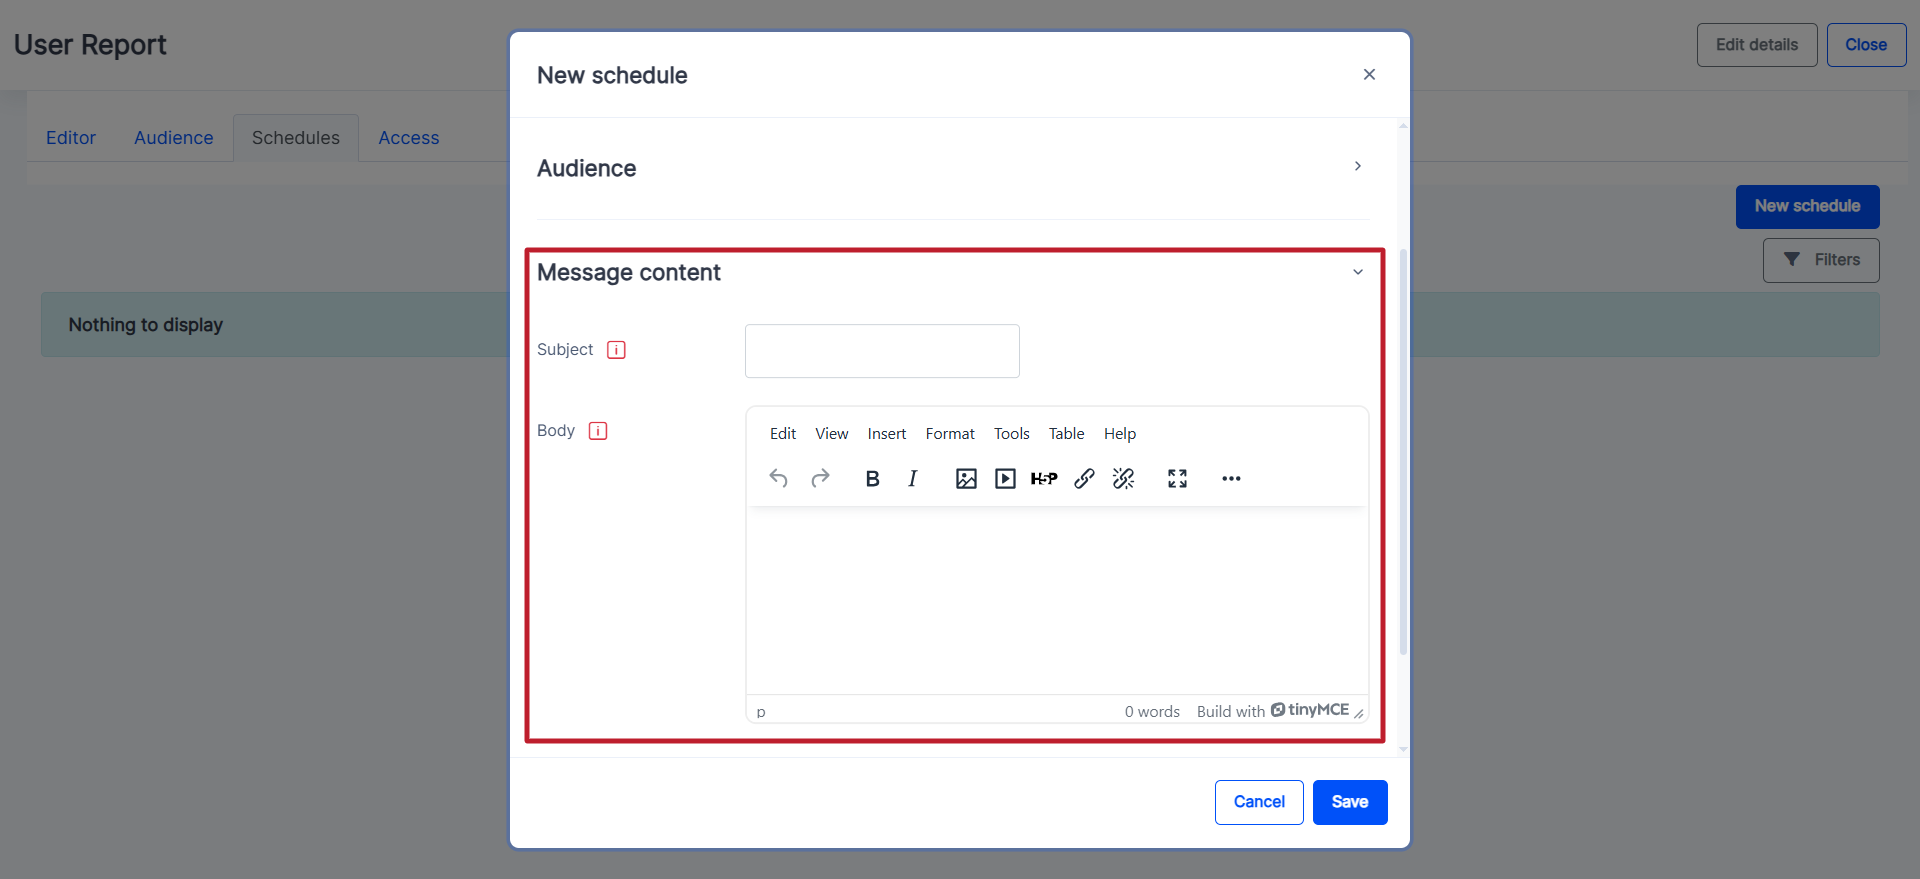
Message Content – Customize the email notification that recipients will receive, including the subject and body.
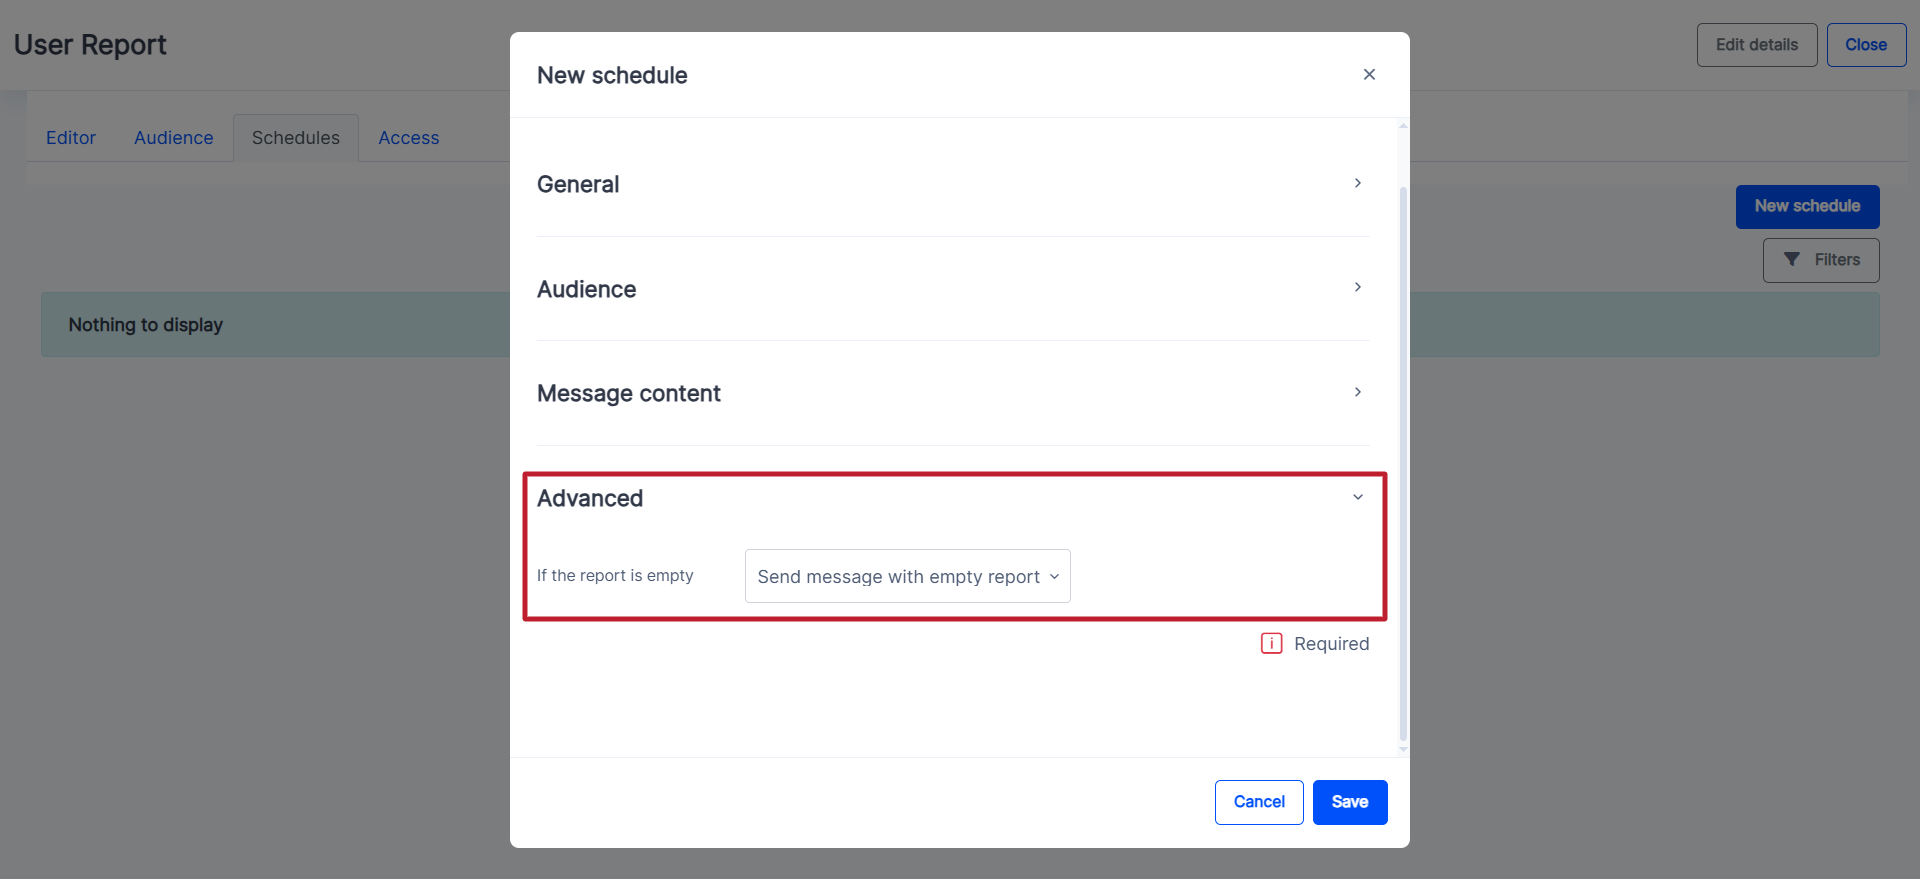
Advanced – Contains the “If the report is empty” option, allowing users to define what happens when the report has no data.
Save the schedule to activate automated report delivery.
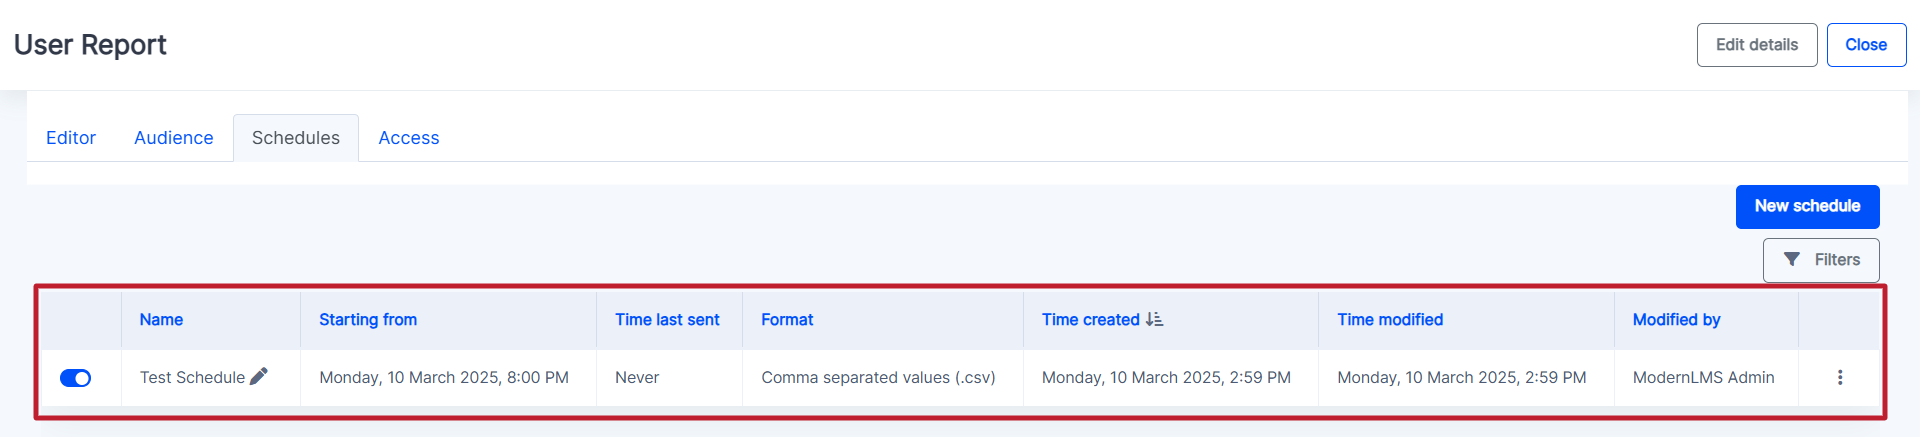
The new schedule appears in the Schedules tab, showing its name, frequency, recipients, and status for easy management and updates.