

Popular


This guide outlines the complete workflow for creating and managing cohorts within the LMS. Cohorts are site-wide or category-level groups that allow you to organize users efficiently, automate course enrollments in bulk, and streamline administrative access control across the platform.
Whether you need to provision cohorts manually for small teams or scale your user management using automated, data-driven methods, this documentation covers the essential steps to build cohorts and assign users effectively.
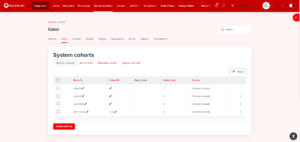
1. Accessing the LMS
Log into the LMS and head to Administration Page/Admin/Administration
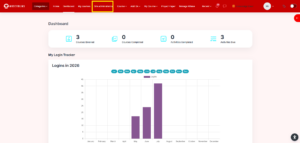
2. Go to Users Page
After arriving at the Site Administration page, click on the second tab labeled “Users”
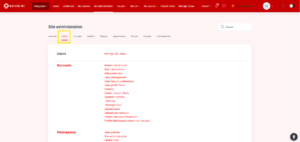
3. Click on Cohorts
After arriving at the Users page, click on the option labeled “Cohorts”
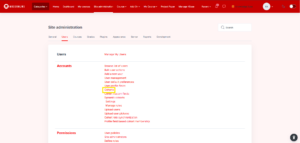
4. Cohorts Page
In this page, you are able to view and manage all of the cohorts in the LMS.
5. Creating New Cohorts
In this page, click on “Add new cohort”
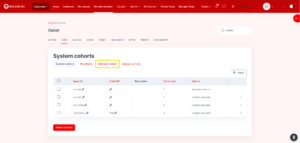
6. Cohort Name
In this form styled paged, please fill in all of the required values indicated by the red “i” icon. The first required value is the cohort’s official name and what does this group of users should be called. (e.g Sales Team, ICT Faculty Lecturers, Auditing Training Team, etc).
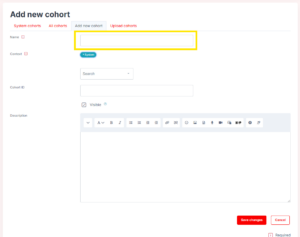
7. Cohort Context
Next, Cohort Context refers to where and which category in the LMS can this cohort be operated and be managed. Click on the dropdown box to open the menu and displays all of the categories in the LMS.
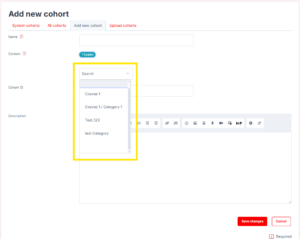
8. Cohort ID (Optional)
This value indicates and identifier and unique nametag for the cohort. Make sure that we don’t re-use the same values from other cohort.
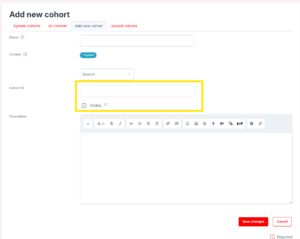
9. Cohort Description (Optional)
A text-field area where you can write a brief summary and definition for the reason of the cohort.
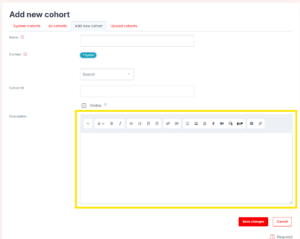
10. Save Cohort
After completing filling up all of the required values, click “Save changes”
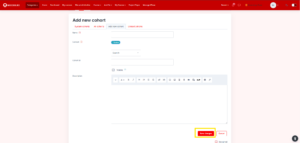
11. Assigning Users to Cohort (Manually)
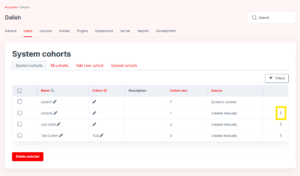
Click on the three dots on the cohort that you wish to assign your users to.
12. Click on Assign
Click on the option with the label “Assign”
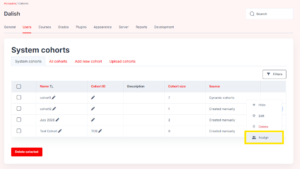
13. Search and Choose Users
You can use the search-bar from the “Potential Users” side to find the user(s) that you wish to assign into the cohort.
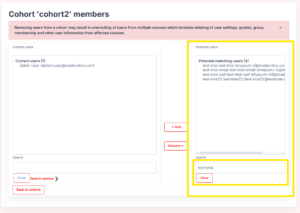
14. Choose Users & Add into Cohort
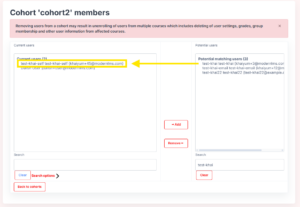
Click on the users to select and click on the button “Add” to add the users from “Potential users” to “Current users” notifying that the users has been successfully assigned into the cohort
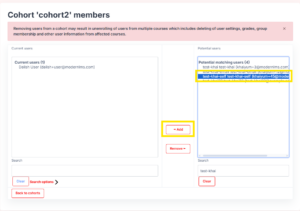
After Adding
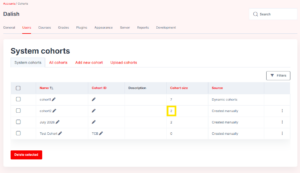
15. Cohort Size
After adding, go back to the previous page and the cohort that we had just added/assigned the user into will increase in number. Cohort size means how many users are currently in the cohort.
11. Assigning Users to Cohort (Bulk Manner) Using CSV Userlist
Compile the users in the same CSV file that you would use to upload users. Here is the official ModernLMS Documentation if you would like to know where to get it:
Bulk User Action Documentation
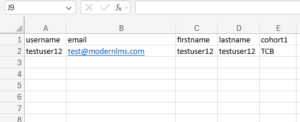
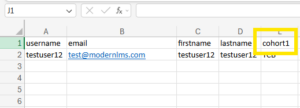
12. Add Column Header “cohort1”
Add a column in the CSV with the header name “cohort1”
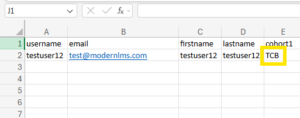
13. Add Cohort ID to Cell
Add in Cohort ID to the cohort that you wish to assign the user towards.
14. Upload CSV
Once the CSV has been uploaded into the LMS. The user details will be updated and be assigned into their respective cohorts.