

Popular


Creating and Designing a New Certificate Template
1.0 Purpose
This guide explains how an authorised administrator or Super Admin that can create and design a reusable certificate template in the system. The template can later be applied to Custom certificate activities in different courses.
Disclaimer: All certificates, images, and sample content shown in this public guide are unofficial and provided solely for instructional and reference purposes. They must not be reproduced, issued, represented as authentic, or used for any unauthorized purpose. Appropriate action may be taken against any misuse of the content.
2.0 Prerequisites
Before proceeding, ensure that:
- You have permission to manage Custom certificate templates.
- The certificate background is prepared in PNG or JPG format.
- Any required logos, signatures or official seals are available.
- The certificate wording has been reviewed and approved.
- The background image has the same orientation and approximate aspect ratio as the intended certificate page.
3.0 Access the Certificate Template Management Page
- Log in to the LMS using an authorized administrator account.
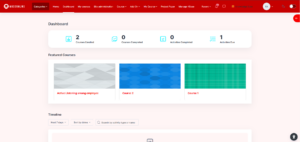
- Navigate to the Admin/Admin Page/Administration Page/etc.
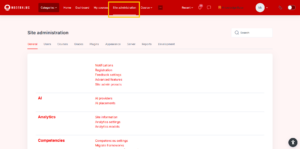
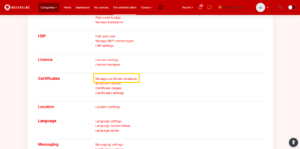
- In General, go to Certificates then to Manage certificate templates
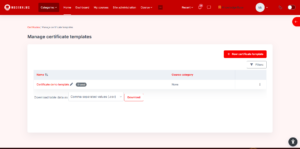
- After clicking, you will be brought to the Manage Certificate Template page.
- This is where you can see existing certificate templates and edit each one.
4.0 Create a New Template
- Click New Certificate template

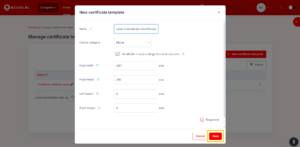
- Give the certificate a name by filling up the required name textbox.
- You can also configure the other settings which are optional such as Course Category (Restricting to which category can be used for the specific certificate), Page width, height, etc.
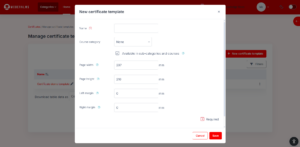
- Click Save to save the settings
5.0 Configure the Certificate Page
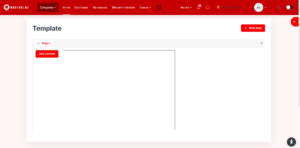
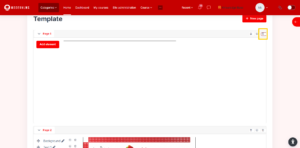
- Click on the gear icon on the top right corner of the template to re-configure the sizing and the overall layout of the template.
- Ensure that the page dimensions match the background design’s aspect ratio. Otherwise, the background image may appear stretched or distorted.
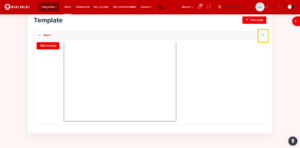
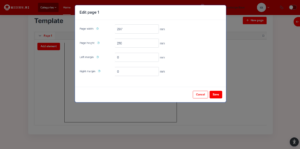
- Click on the Save button to save the configurations of the template.
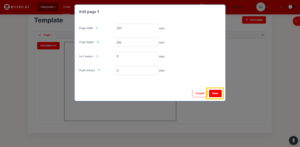
6.0 Add a Background Image
We highly suggest starting to design the certificate by first adding the background image. It should be added before other elements so that text and dynamic information appear above it.
- Click on the Add element button to open the dropdown menu of items that can be added to the template.
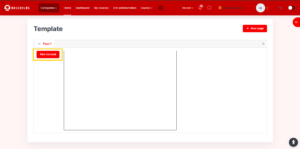
- Click on the Image option from the dropdown menu.
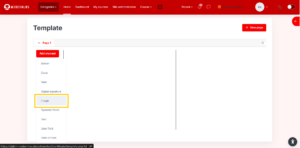
- Give the background image element a name. (e.g Background Image)
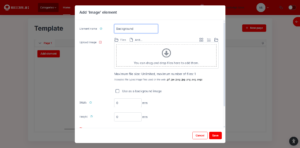
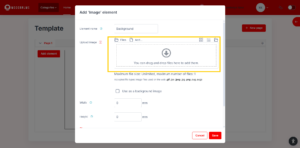
- To upload the image, you can drag drop it in the highlighted box below or click it to open and browse through your machine’s library.
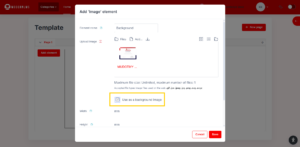
- Click on the checkbox with the label “
- Click on Save to save the settings of the background.
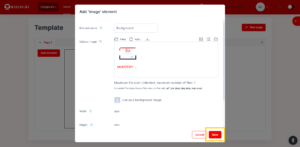
- After saving, the system will automatically fit the image to the size of the template to make the image as a background image.
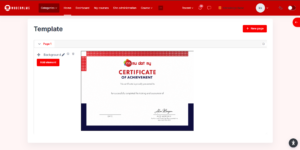
7.0 Add Certificate Elements
Elements control the information displayed on the certificate. Some elements contain fixed text, while others automatically retrieve information from the LMS.
To add an element:
- Open the Add element dropdown menu.
- Select the required element.
- Click Add element.
- Configure the element’s content and appearance.
- Click Save changes.
- Repeat the process until all required elements have been added.
Recommended elements include:
| Element | Purpose |
|---|---|
| Border | Adds a color border at the inner perimeter of the template |
| Code | Displays the certificate’s unique verification code |
| Date | Displays the relevant issue or completion date |
| Digital signature | Upload and add a digital signature to the template |
| Dynamic fields | Displays a value where it is unique to a scenario or course |
| Text | Displays fixed wording |
| User field | Displays a value where it is unique to a user |
| User picture | Displays the receiver user’s profile picture |
The available elements may differ depending on the plugin version and additional elements installed on the LMS.
8.0 Configure Static Elements
Use static elements such as Border, Text, Digital Signature, or Image for elements that remains the same on every certificate.
- Click on the Add element button to open the dropdown menu of items that can be added to the template.
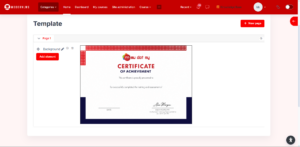
- Click on the Text to add a static text to the template.
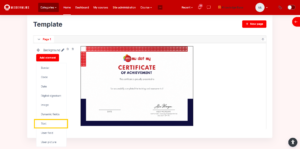
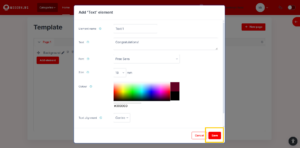
- Give and type the element a name. (e.g Text 1)
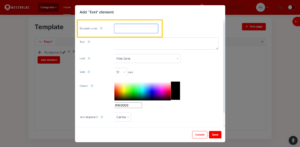
- Type the text that you would wish to display on the certificate in the Text textbox. (e.g Congratulations!)
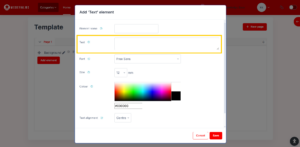
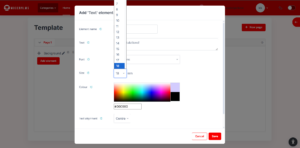
- Configure the size and how big would you wish the text will get displayed.
- Click on Save to save the settings of the text.
- The text will get inserted into the template
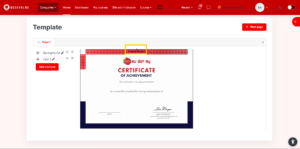
- You can click and drag the inserted element to the demanded position on the certificate.
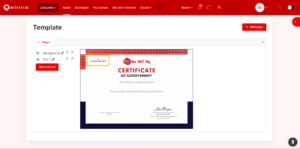
9.0 Add Dynamic Information
Dynamic elements retrieve information automatically for each certificate recipient.
For example, the Course name element displays the name of the course after a user was receiving the certificate.
- Click on the Add element button to open the dropdown menu of items that can be added to the template.
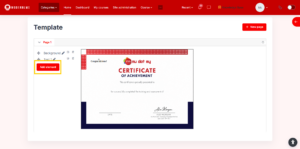
- Click and choose the Dynamic fields.
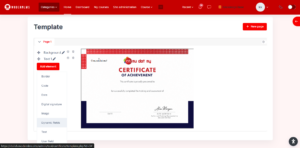
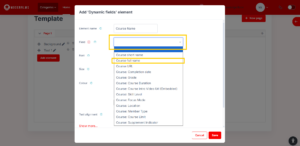
- Give a name to the element. (e.g. Course Name)
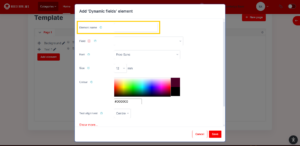
- Click to open the dropdown menu for Field to choose the specific field that you wish to add as a dynamic field (e.g. Course full name)
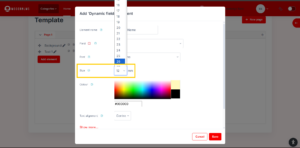
- Choose the size that you would like to display this text at.
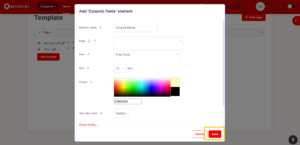
- Click on the Save button to save the settings.
- The dynamic field will get inserted into the template
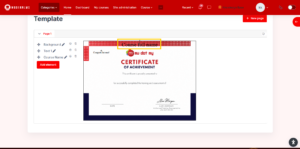
- You can click and drag the inserted element to the demanded position on the certificate.
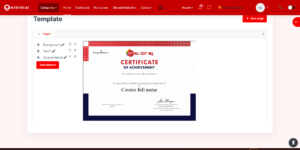
Repeat the process for other dynamic elements such as:
- Date
- Certificate code -> QR/Code
- User profile field -> Full Name
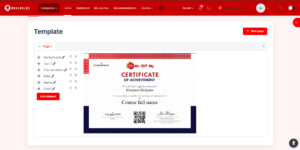
10.0 Add New Page
The system also allows the certificate to have more than one page if needed.
- Click on the “+ New page” button on the top right of the template editing area to add a new page for the certificate.
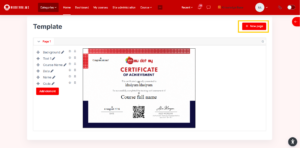
- Once clicked, a configure pop-up will appear where you can configure the sizing of the added page of the certificate.
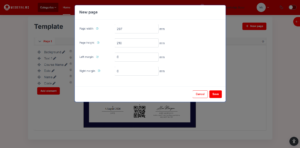
- Click Save to save the configurations and add a new blank canvas page to the template.
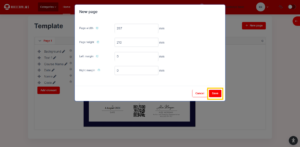
- After saving the configurations, the new blank canvas will appear below the current existing certificate template page.
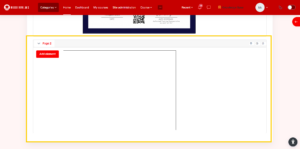
- If you wish to bring the new added page to the top (first page). You can achieve that by clicking on the “Up Arrow” button located on the top right of the canvas page to bring the page forward and switching places with the certificate page before the added current page.
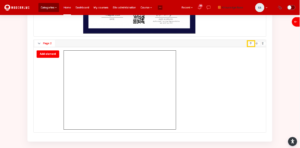
- Once clicked, the new page will be brought upwards in the template.
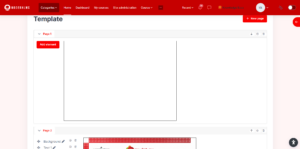
- You can delete the page by clicking on the “Trash”
DO NOTE THAT THERE IS NO SAVING BUTTON. THE SYSTEM WILL ALWAYS HAVE AUTOSAVING TURNED ON DURING MANAGING AND EDITING THE TEMPLATE CERTIFICATE