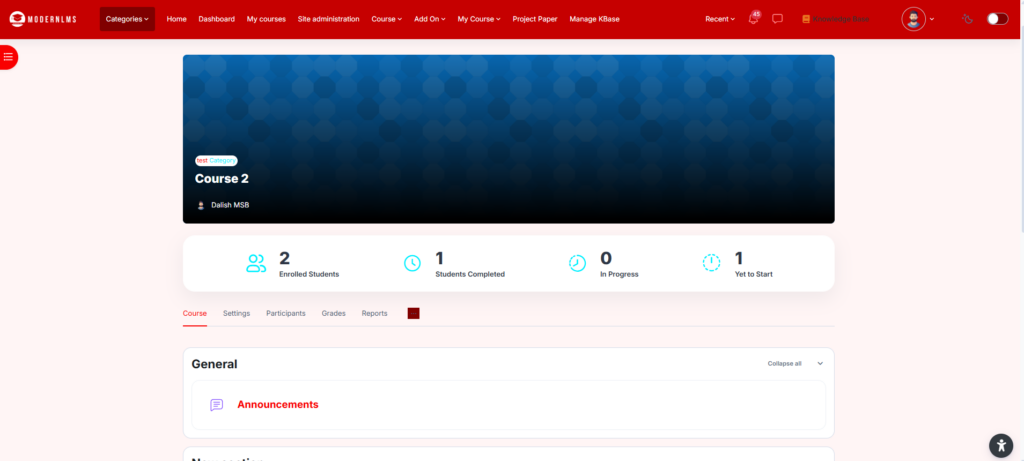
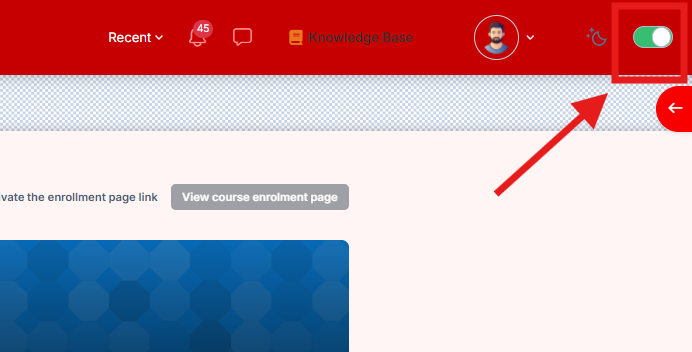
Go to the section where you want to place the attendance.
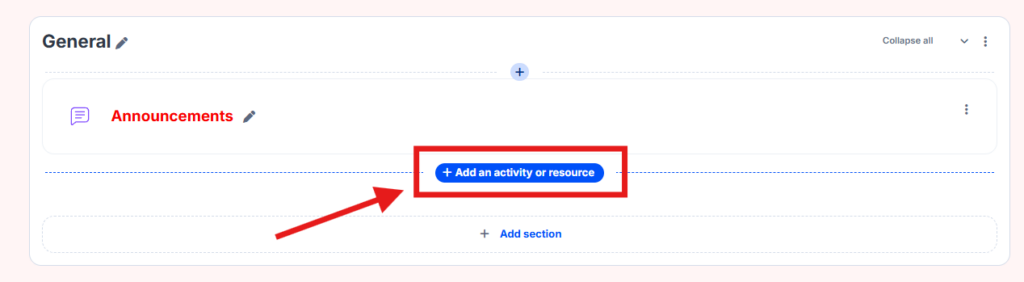
Click Add an activity or resource.
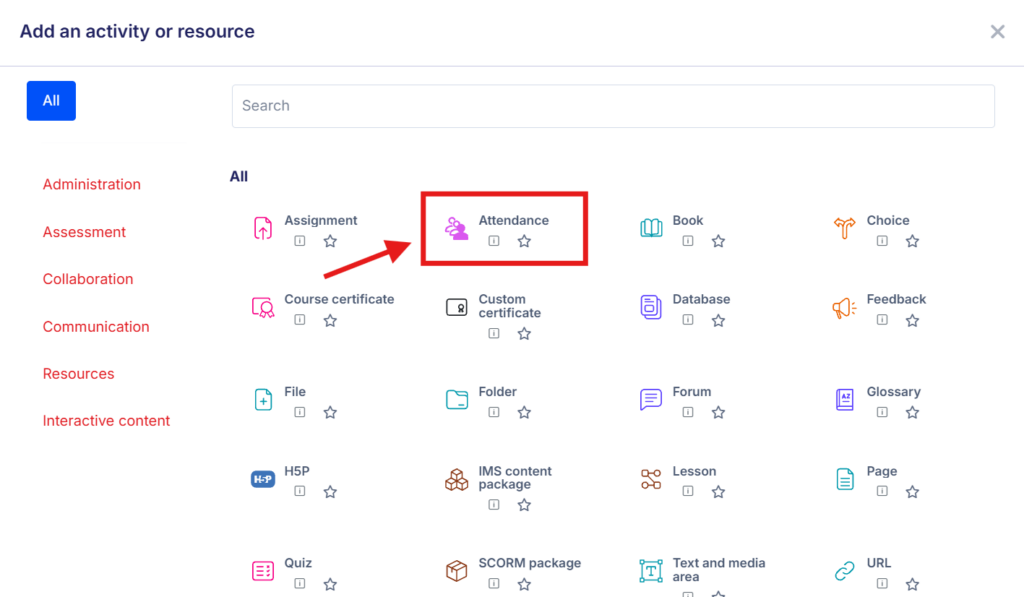
Select Attendance and click Add. Attendance is a course activity that allows lecturers to record attendance for enrolled students.
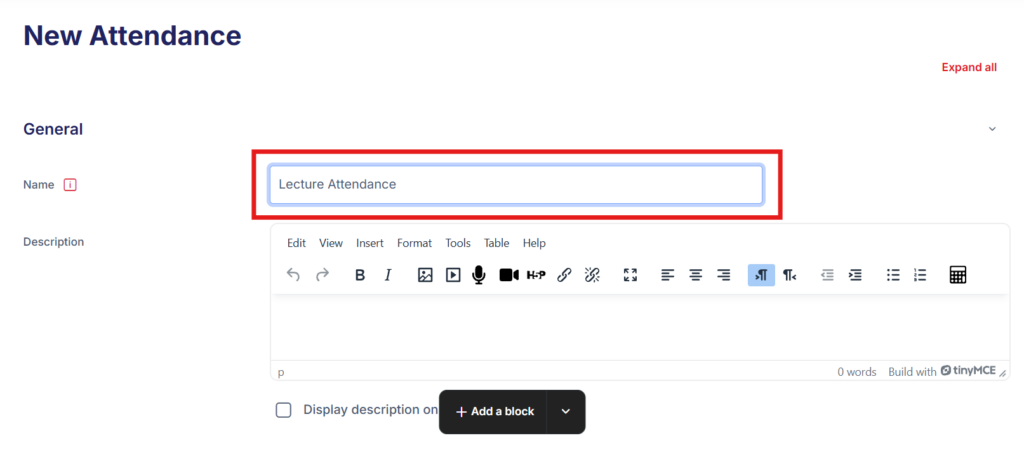
Enter an activity name, for example:
Lecture Attendance
Class Attendance
Configure the required settings.
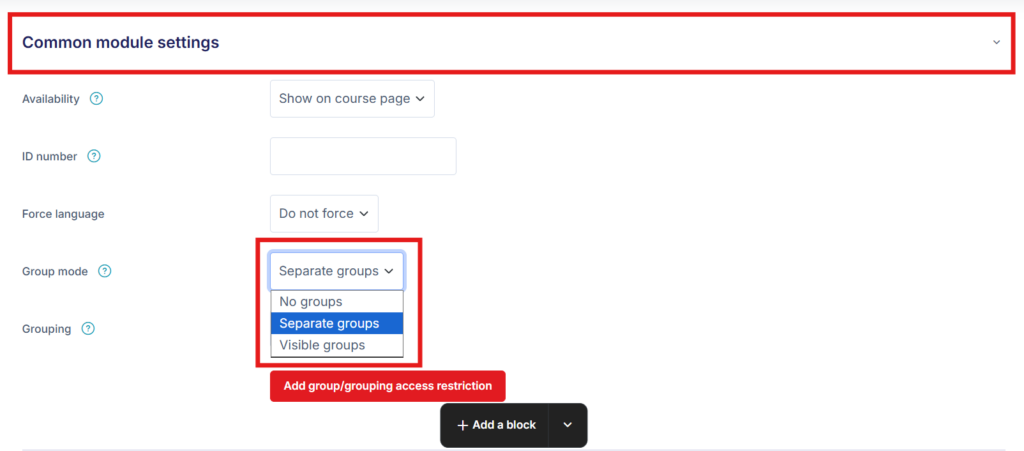
If the course is using Group A and Group B, under Common module settings > Group mode, select:
Separate groups – Lecturer A can manage Group A separately from Group B.
Visible groups – lecturers can work with their own group while also being able to view other groups.
Do not select No groups if you want Attendance sessions to be managed according to Group A and Group B.
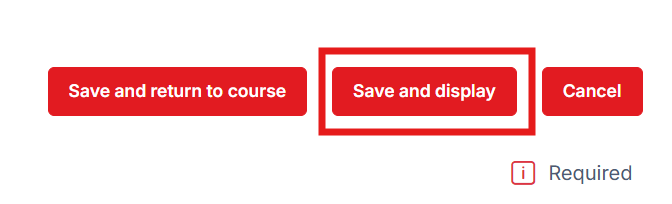
Click Save and display.
Create the Attendance Session
After creating the activity:
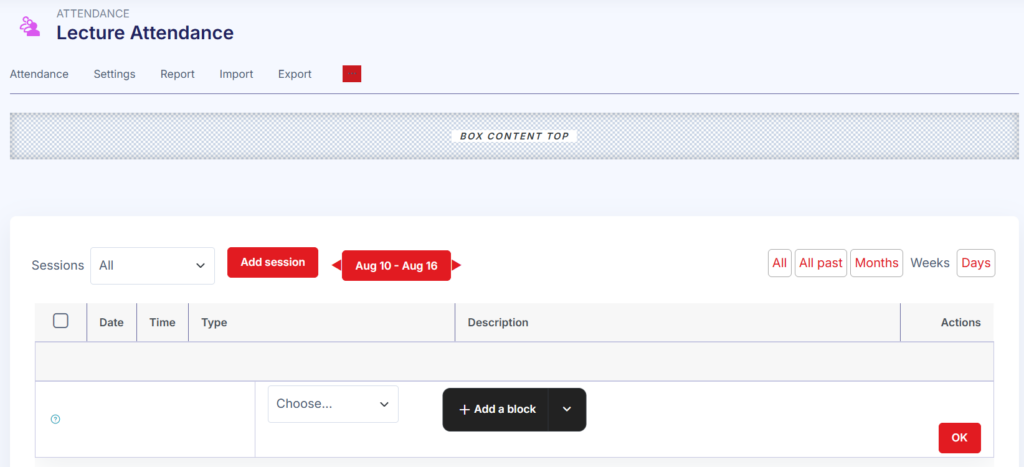
Open the Attendance activity.
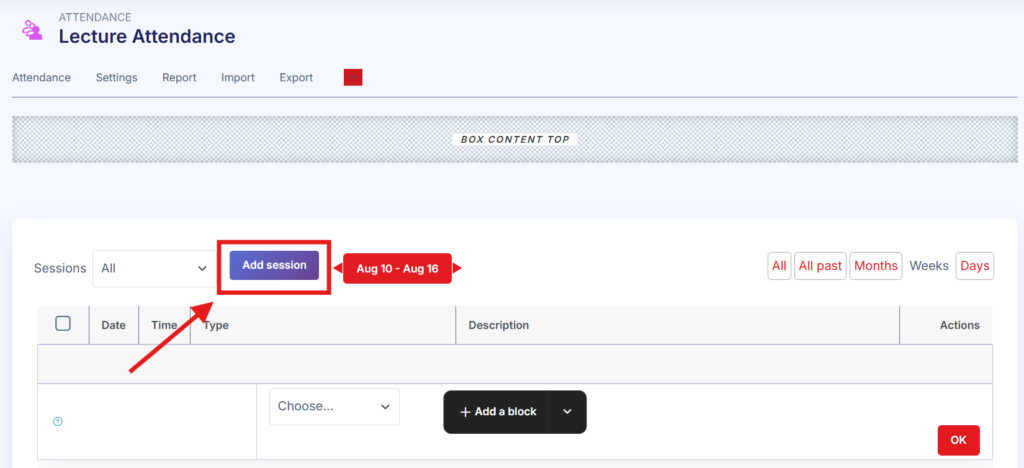
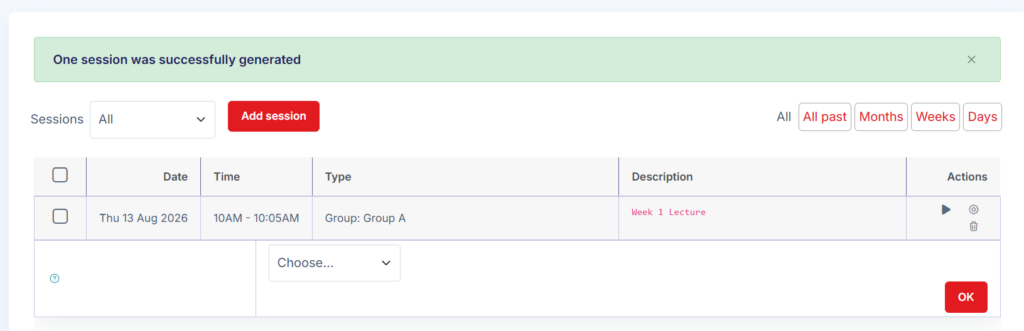
Select Add session.
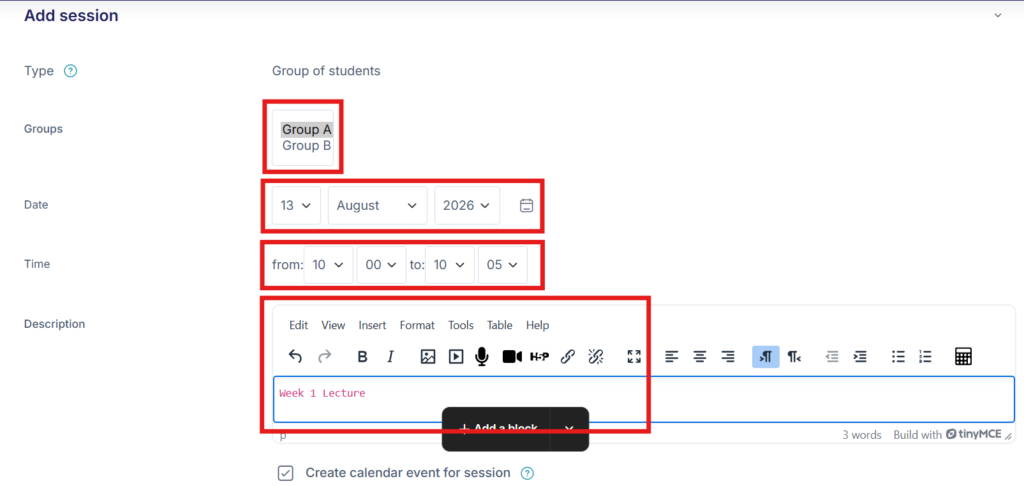
Select the session type:
All students for the whole course, or
Group if the attendance is specifically for Group A or/and Group B.
Set the Date.
Set the Time and Duration.
Enter a description, for example Week 1 Lecture.
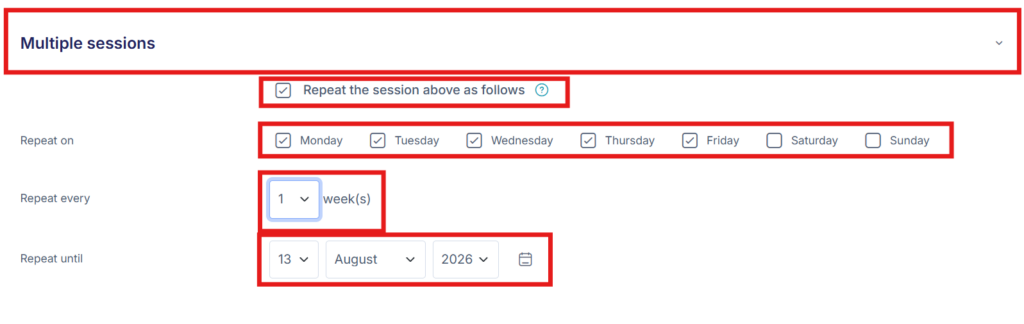
If the class repeats every week, enable Multiple sessions and configure the required days and frequency.
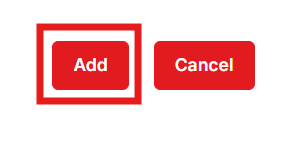
Click Add.
Taking Attendance
When the class starts:
Open the Attendance activity.
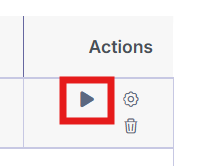
Locate the relevant session.
Click Take attendance.
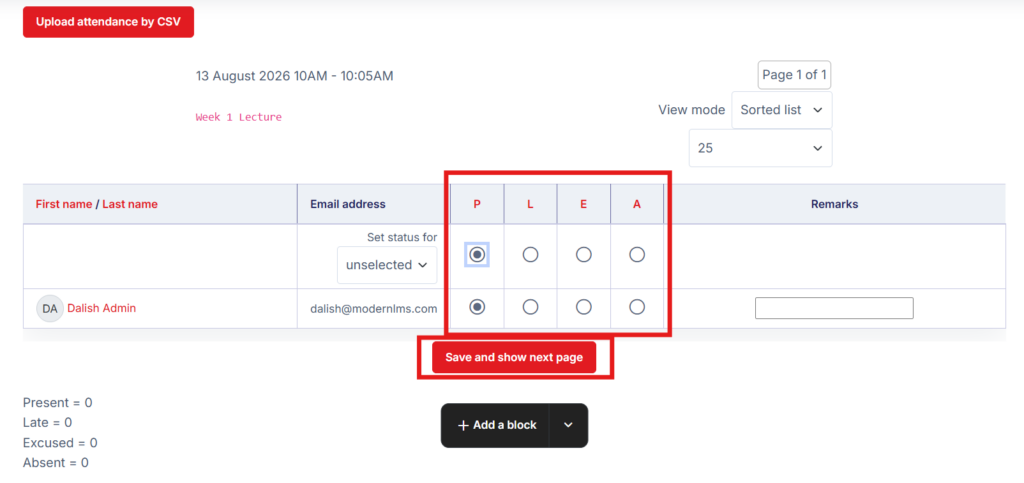
Mark each student as:
P – Present
L – Late
E – Excused
A – Absent
Add remarks if required.
Save the attendance. These default attendance statuses can also be customised.
For your current setup, I would recommend creating one Attendance activity, setting the Group mode to Separate groups, and then creating separate attendance sessions for Group A and Group B.